Step 2: Prepare the motor wheel
Now you will prepare the motor wheel by mounting the brake disc and the freewheel. If you need to move the brake disc from the old wheel, do that first.
Part A: Remove the brake disc from the old wheel
If you bought a new brake disc, or if your old one does not fit (riveted instead of bolt-on), skip to Part B.
Place the old wheel with the brake disc facing up
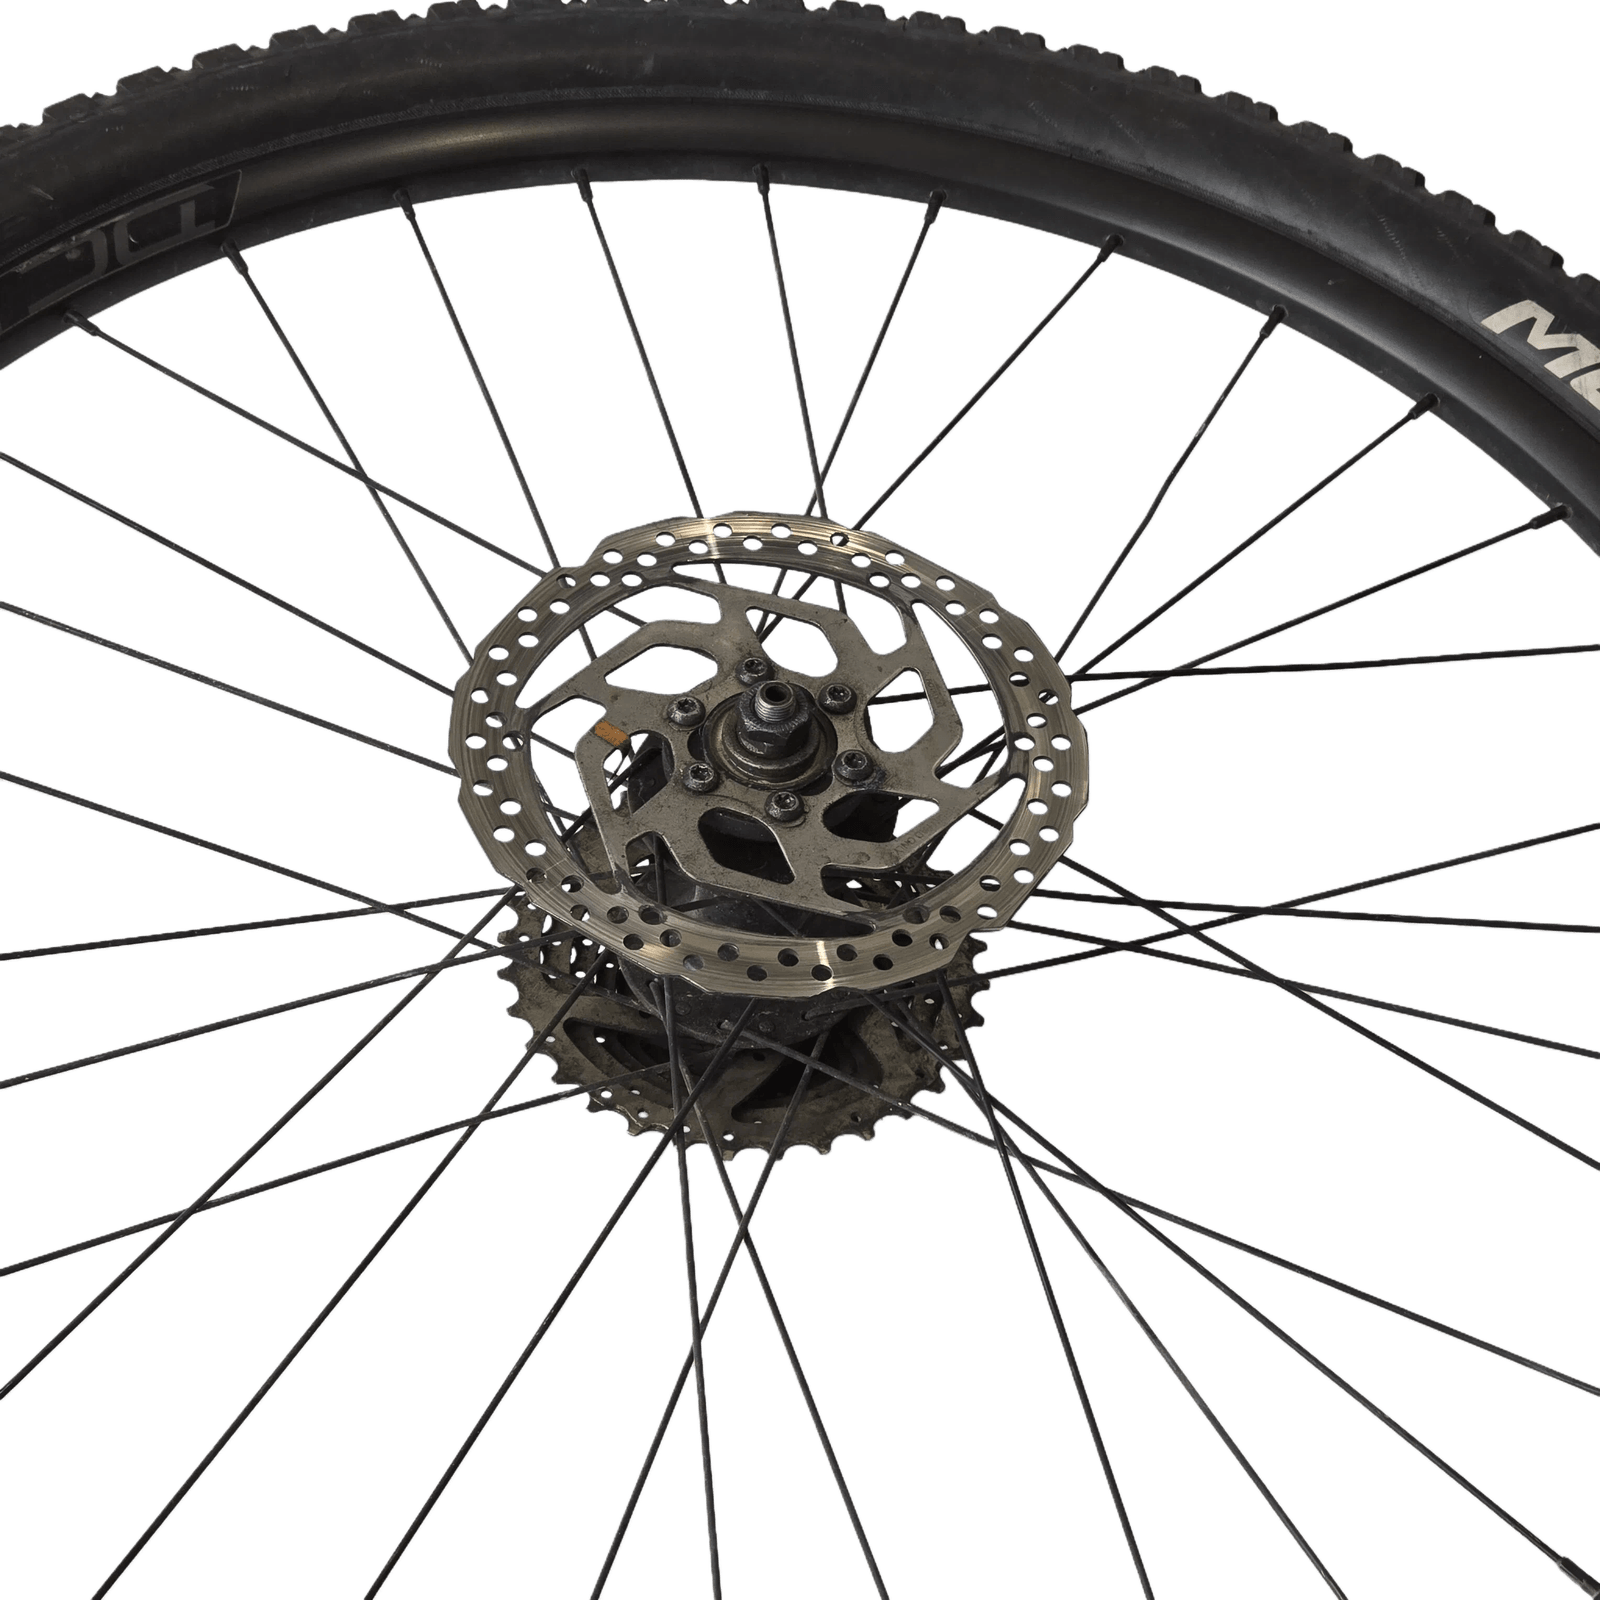
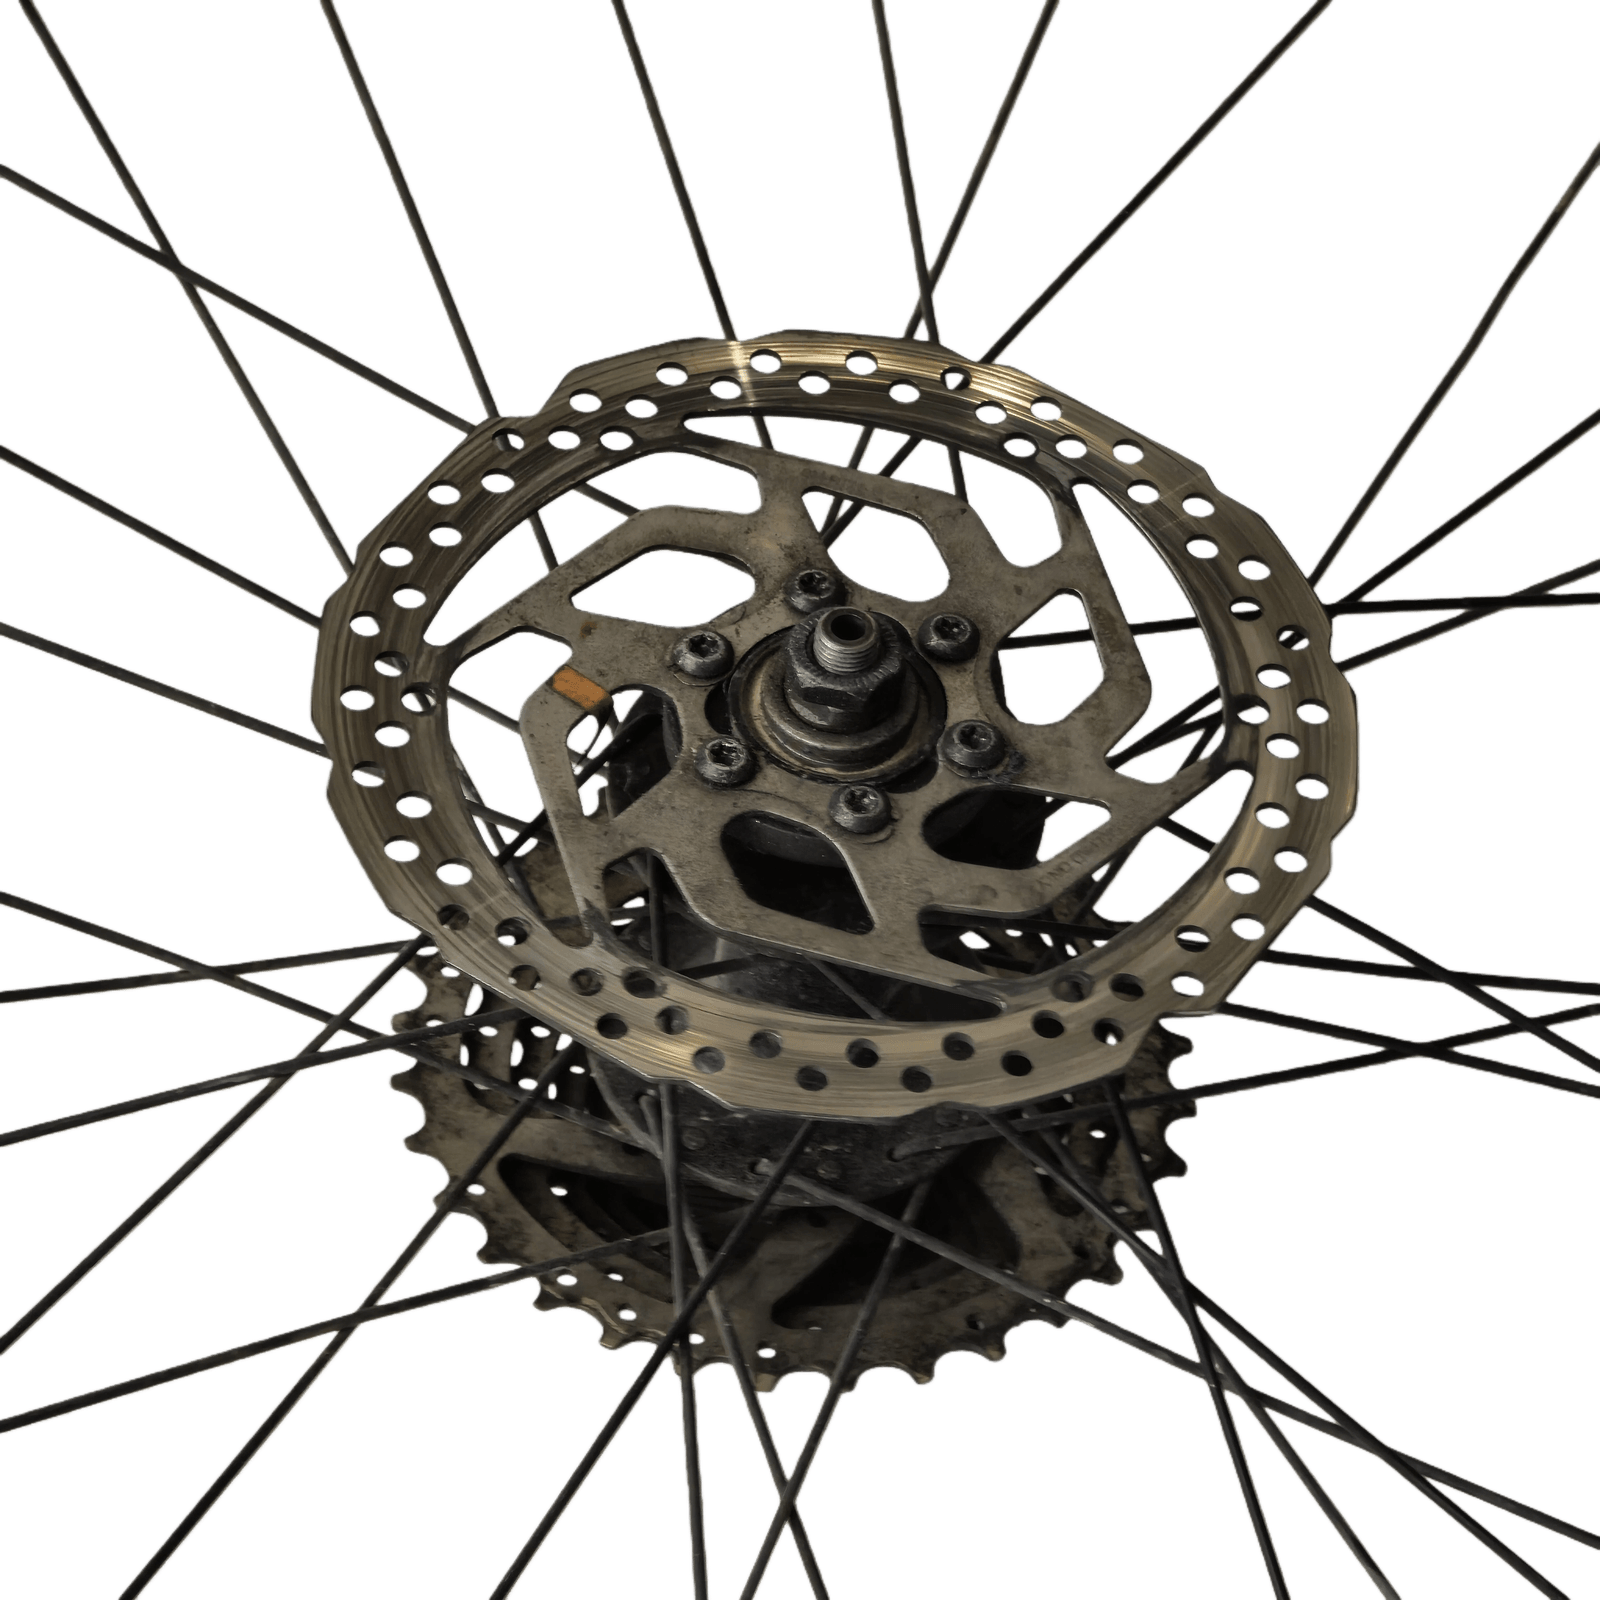
Remove the brake disc screws
Use a Torx wrench, usually T25, to remove the six screws.
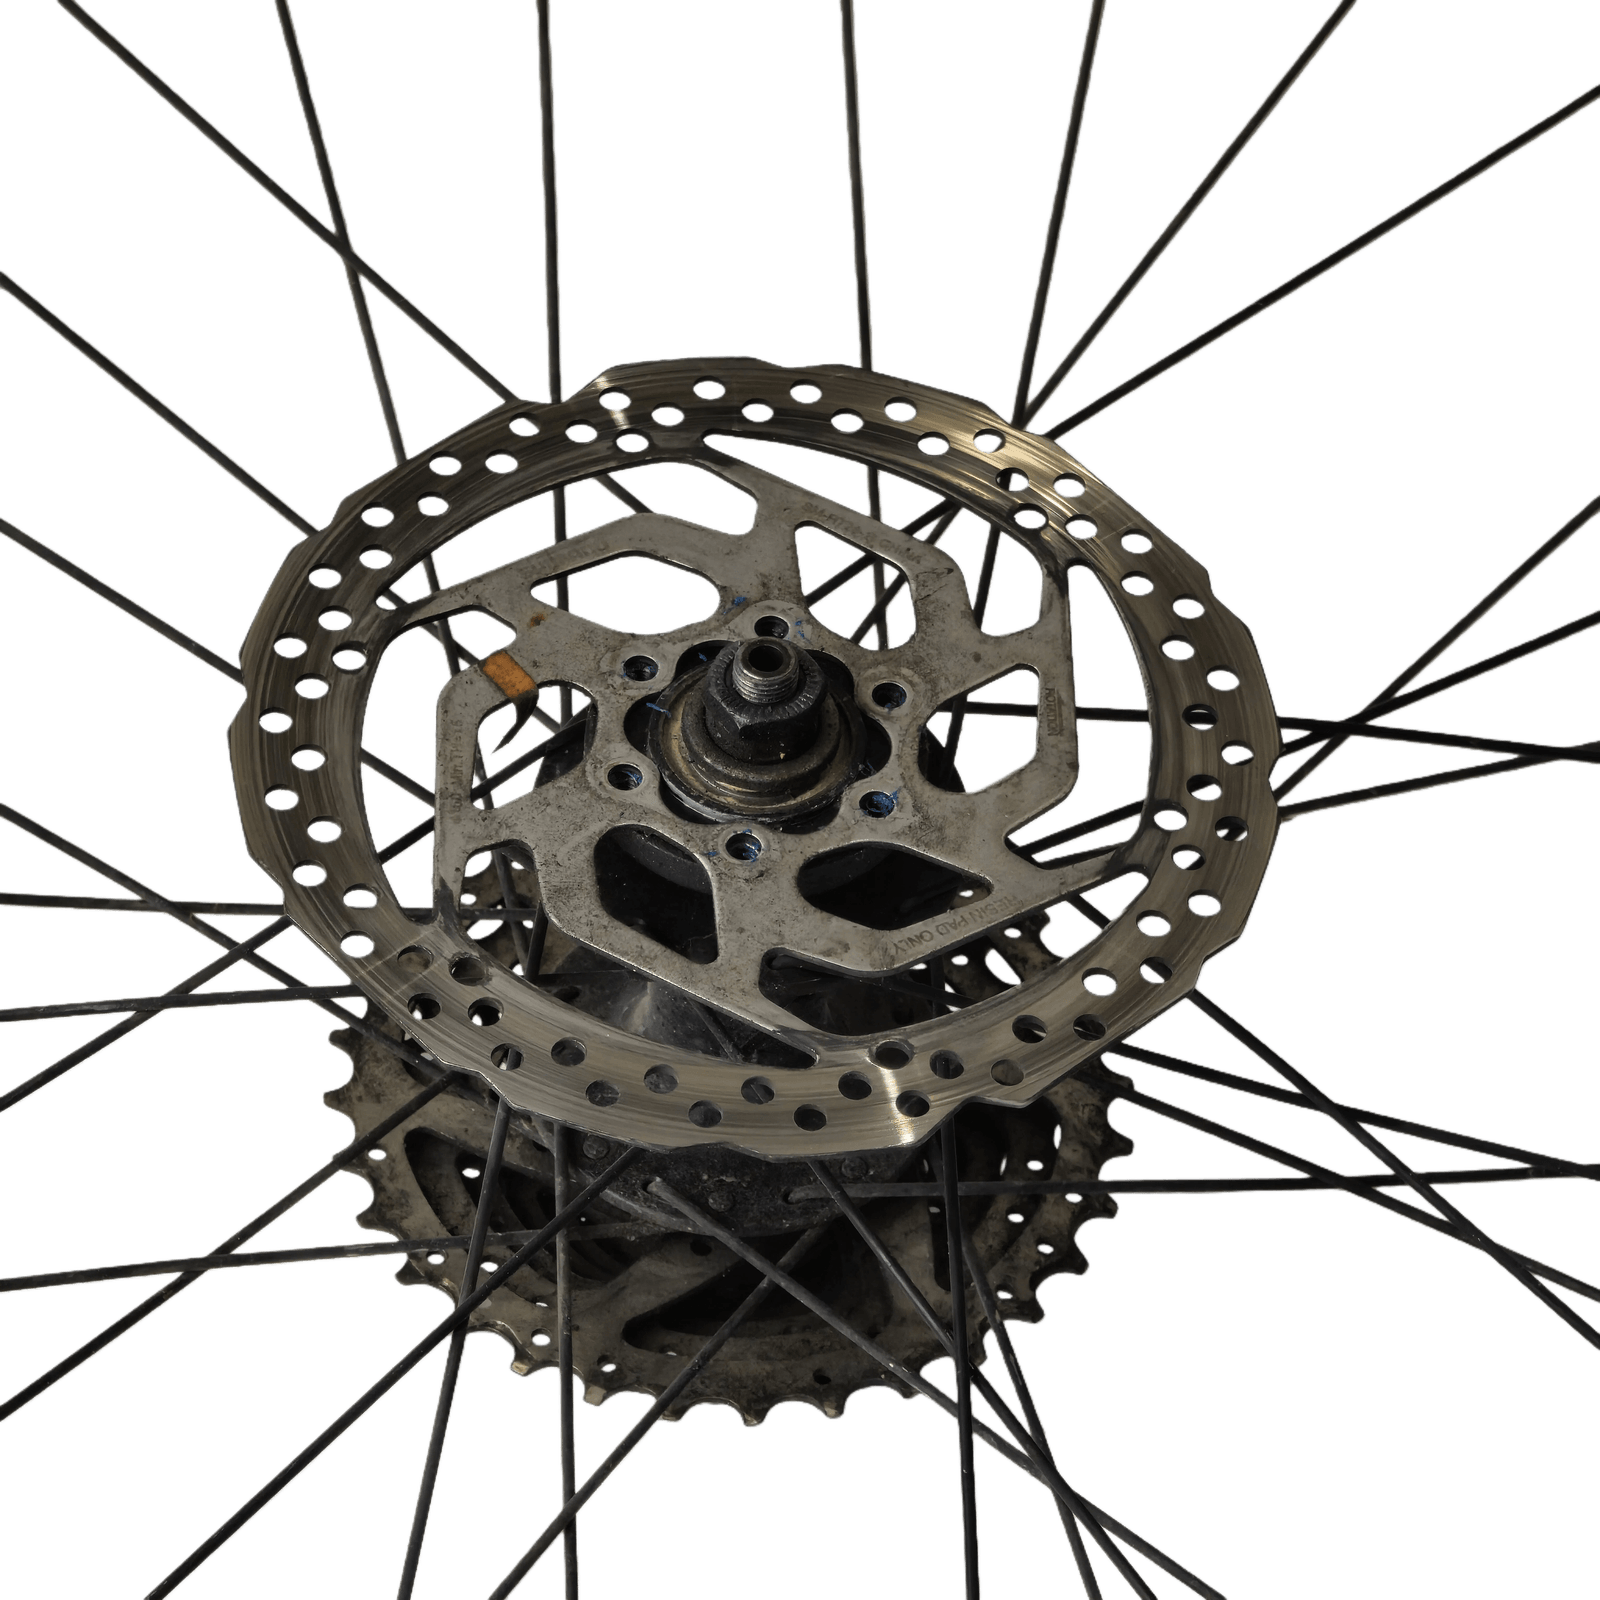
Remove the brake disc
Lift off the brake disc and set it aside.
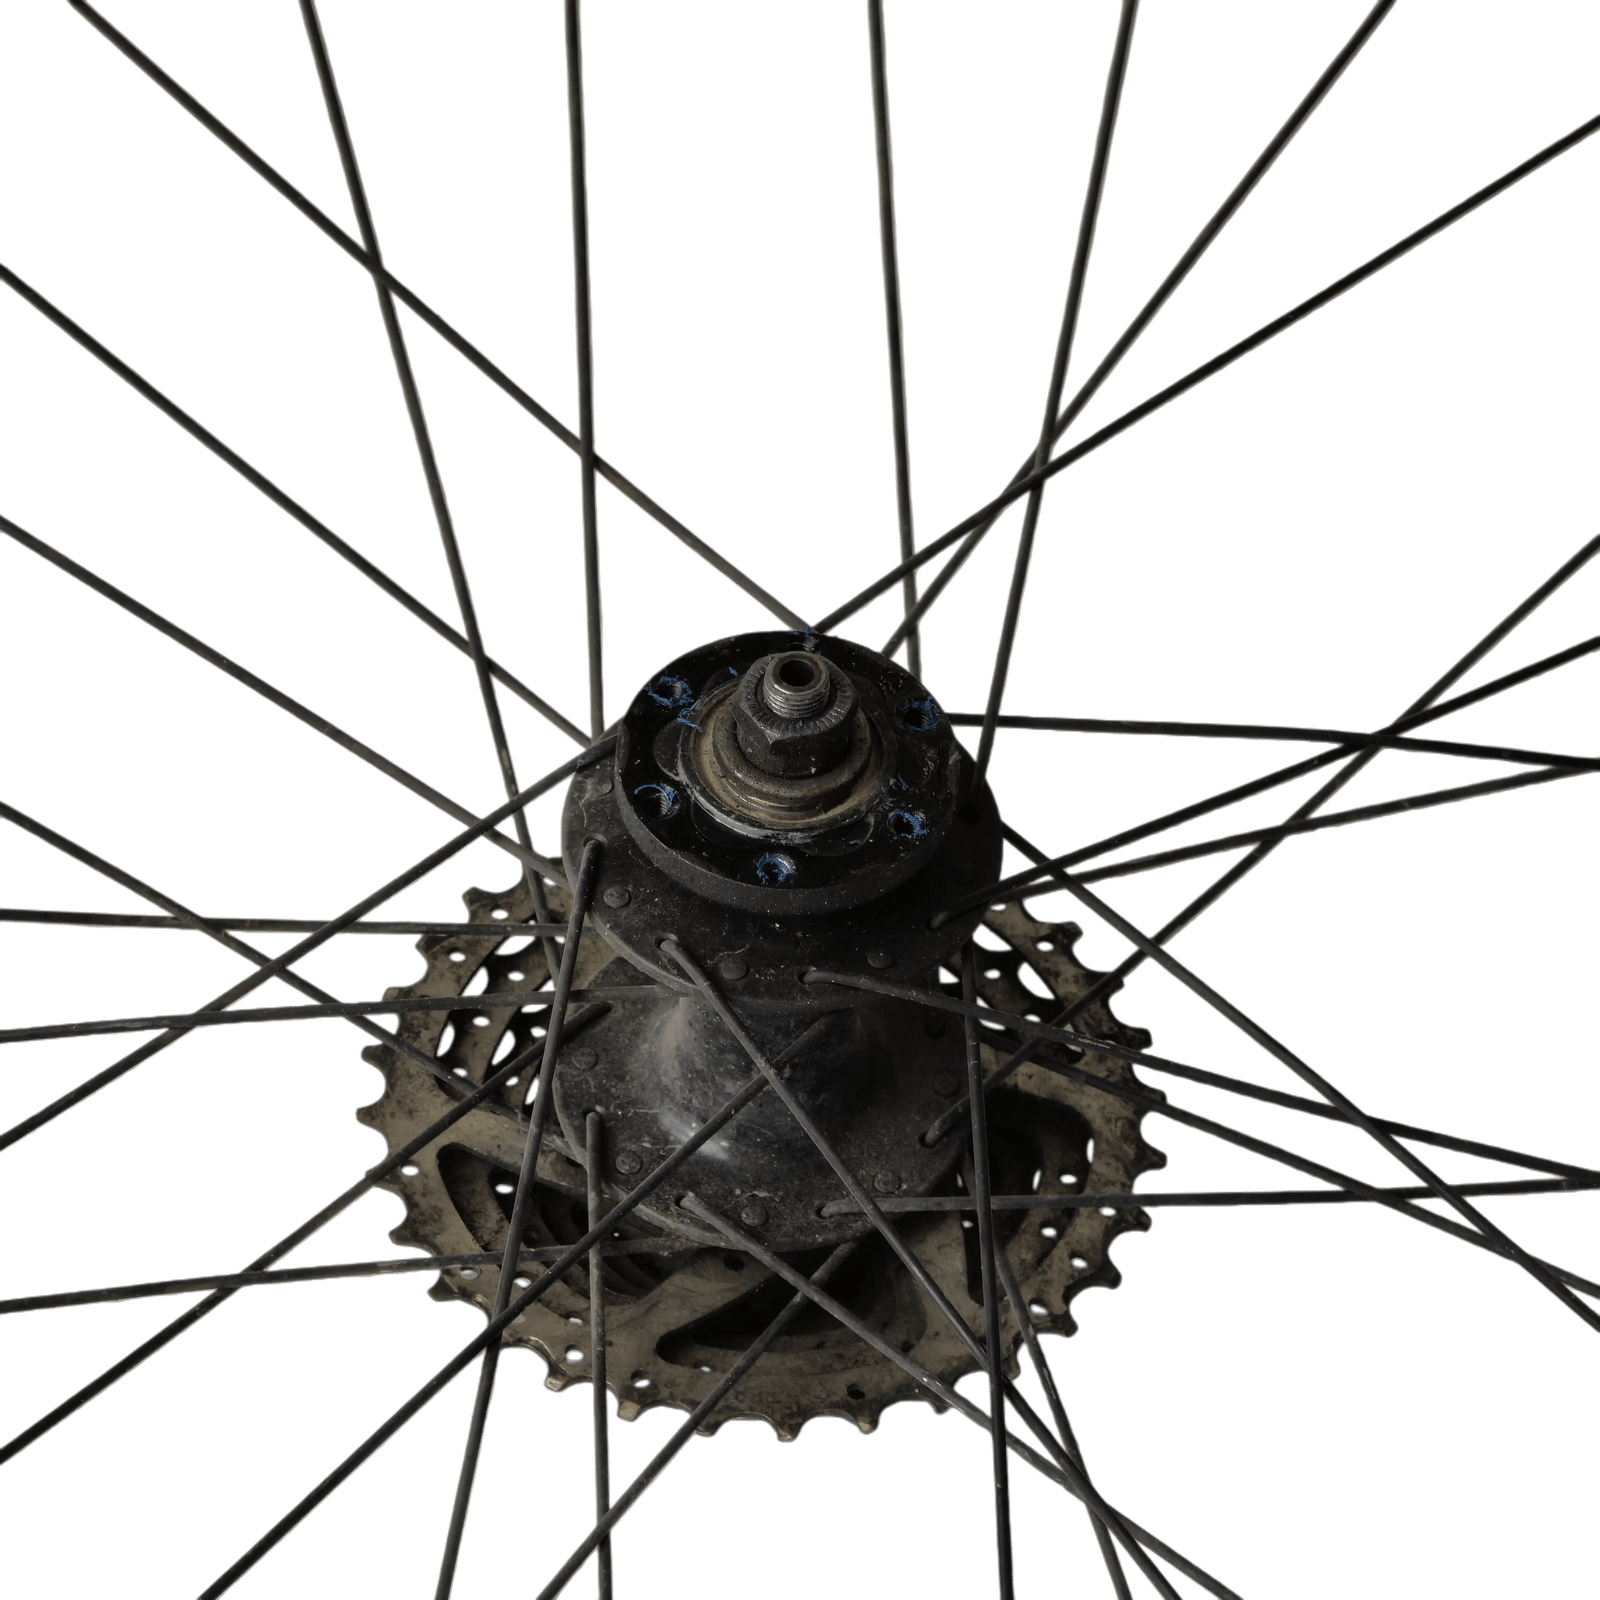
Part B: Get the motor wheel out
Unpack the motor wheel
Take the motor wheel out of the packaging. It comes with axle covers, nuts, and washers already installed.
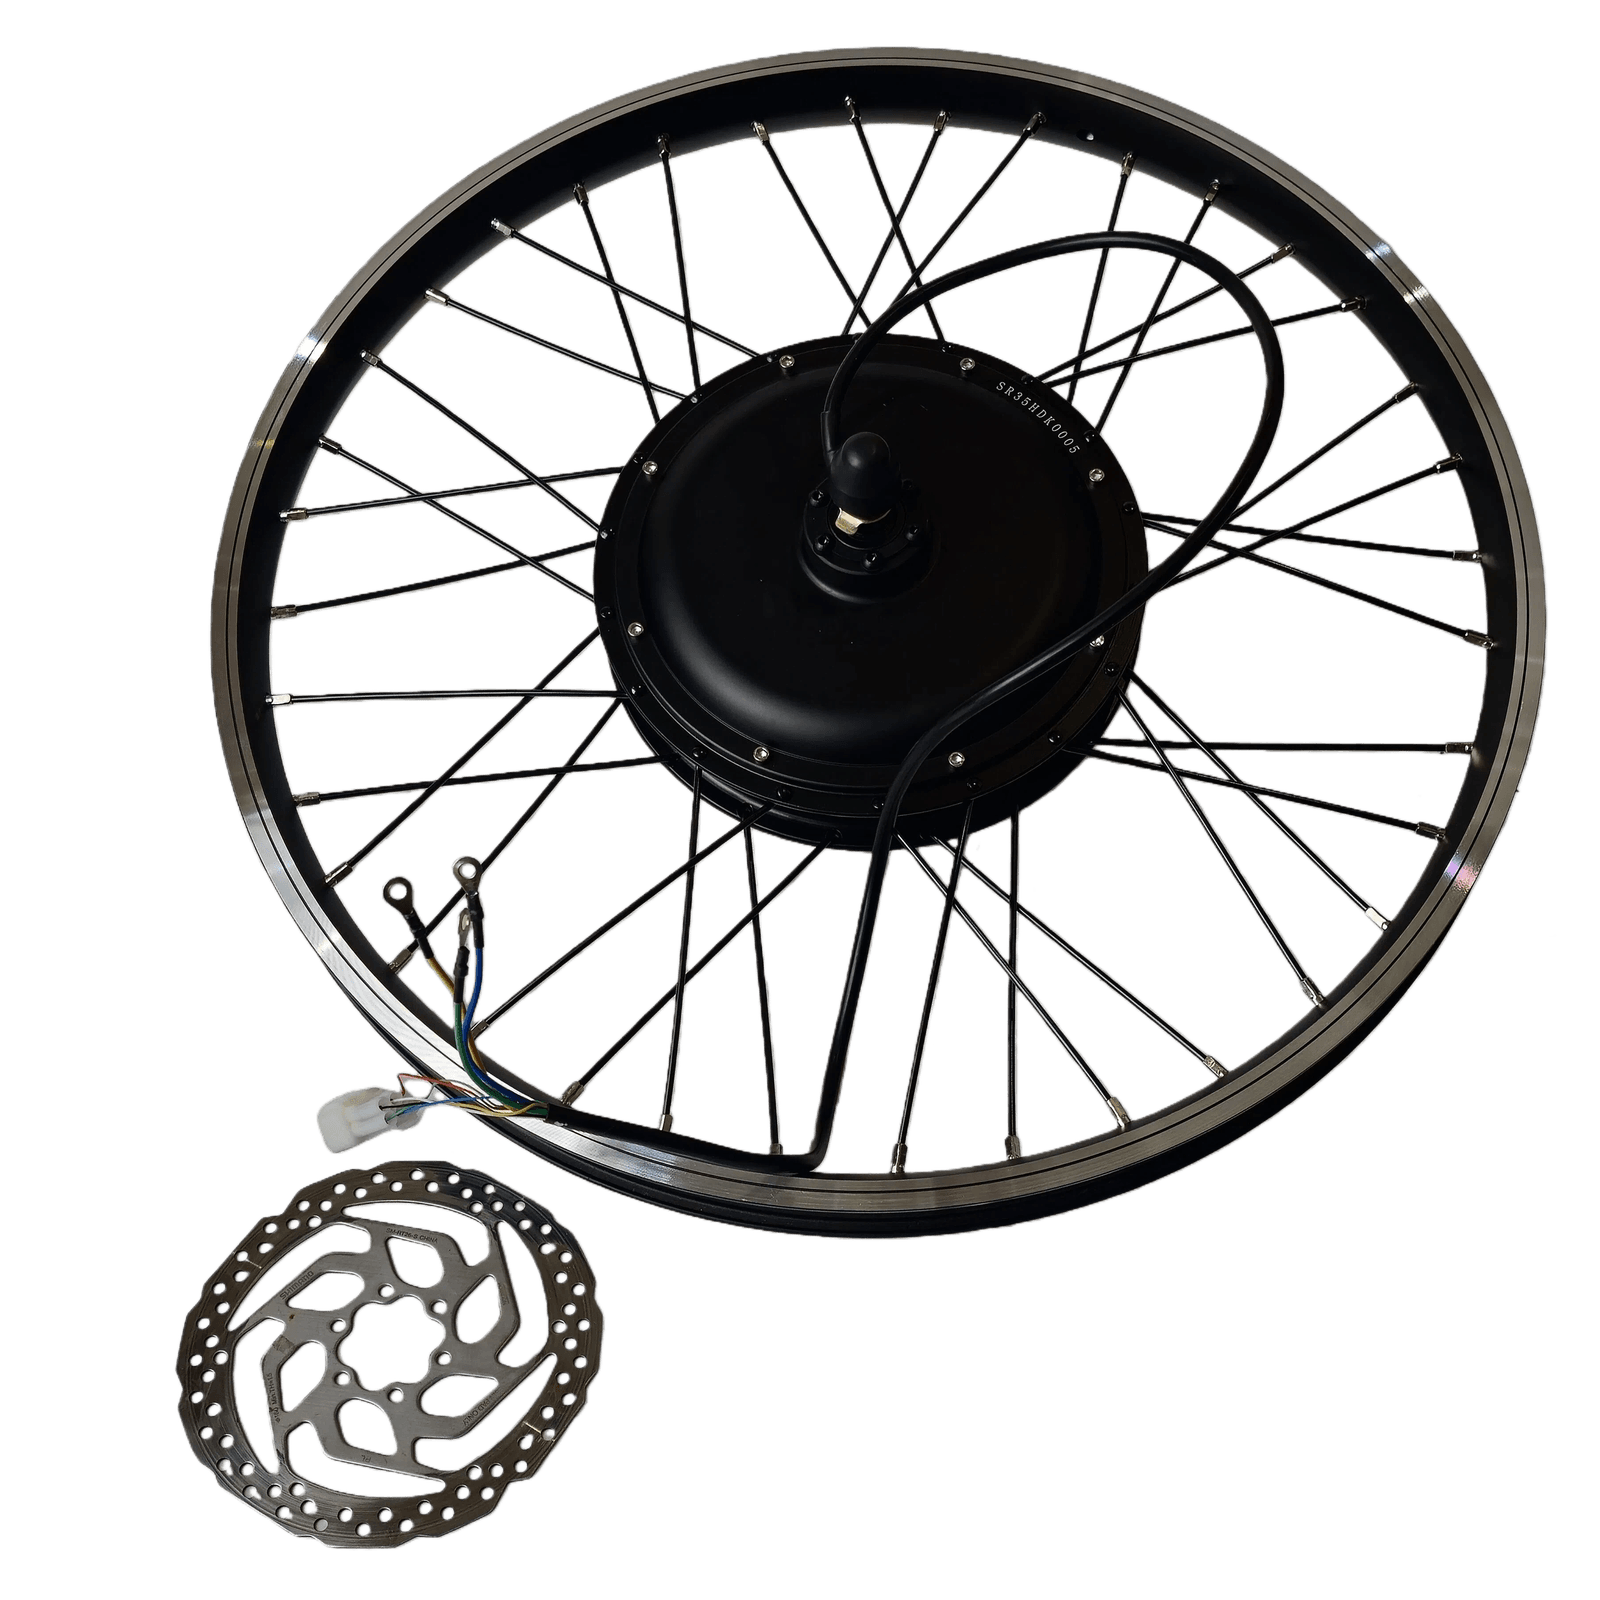
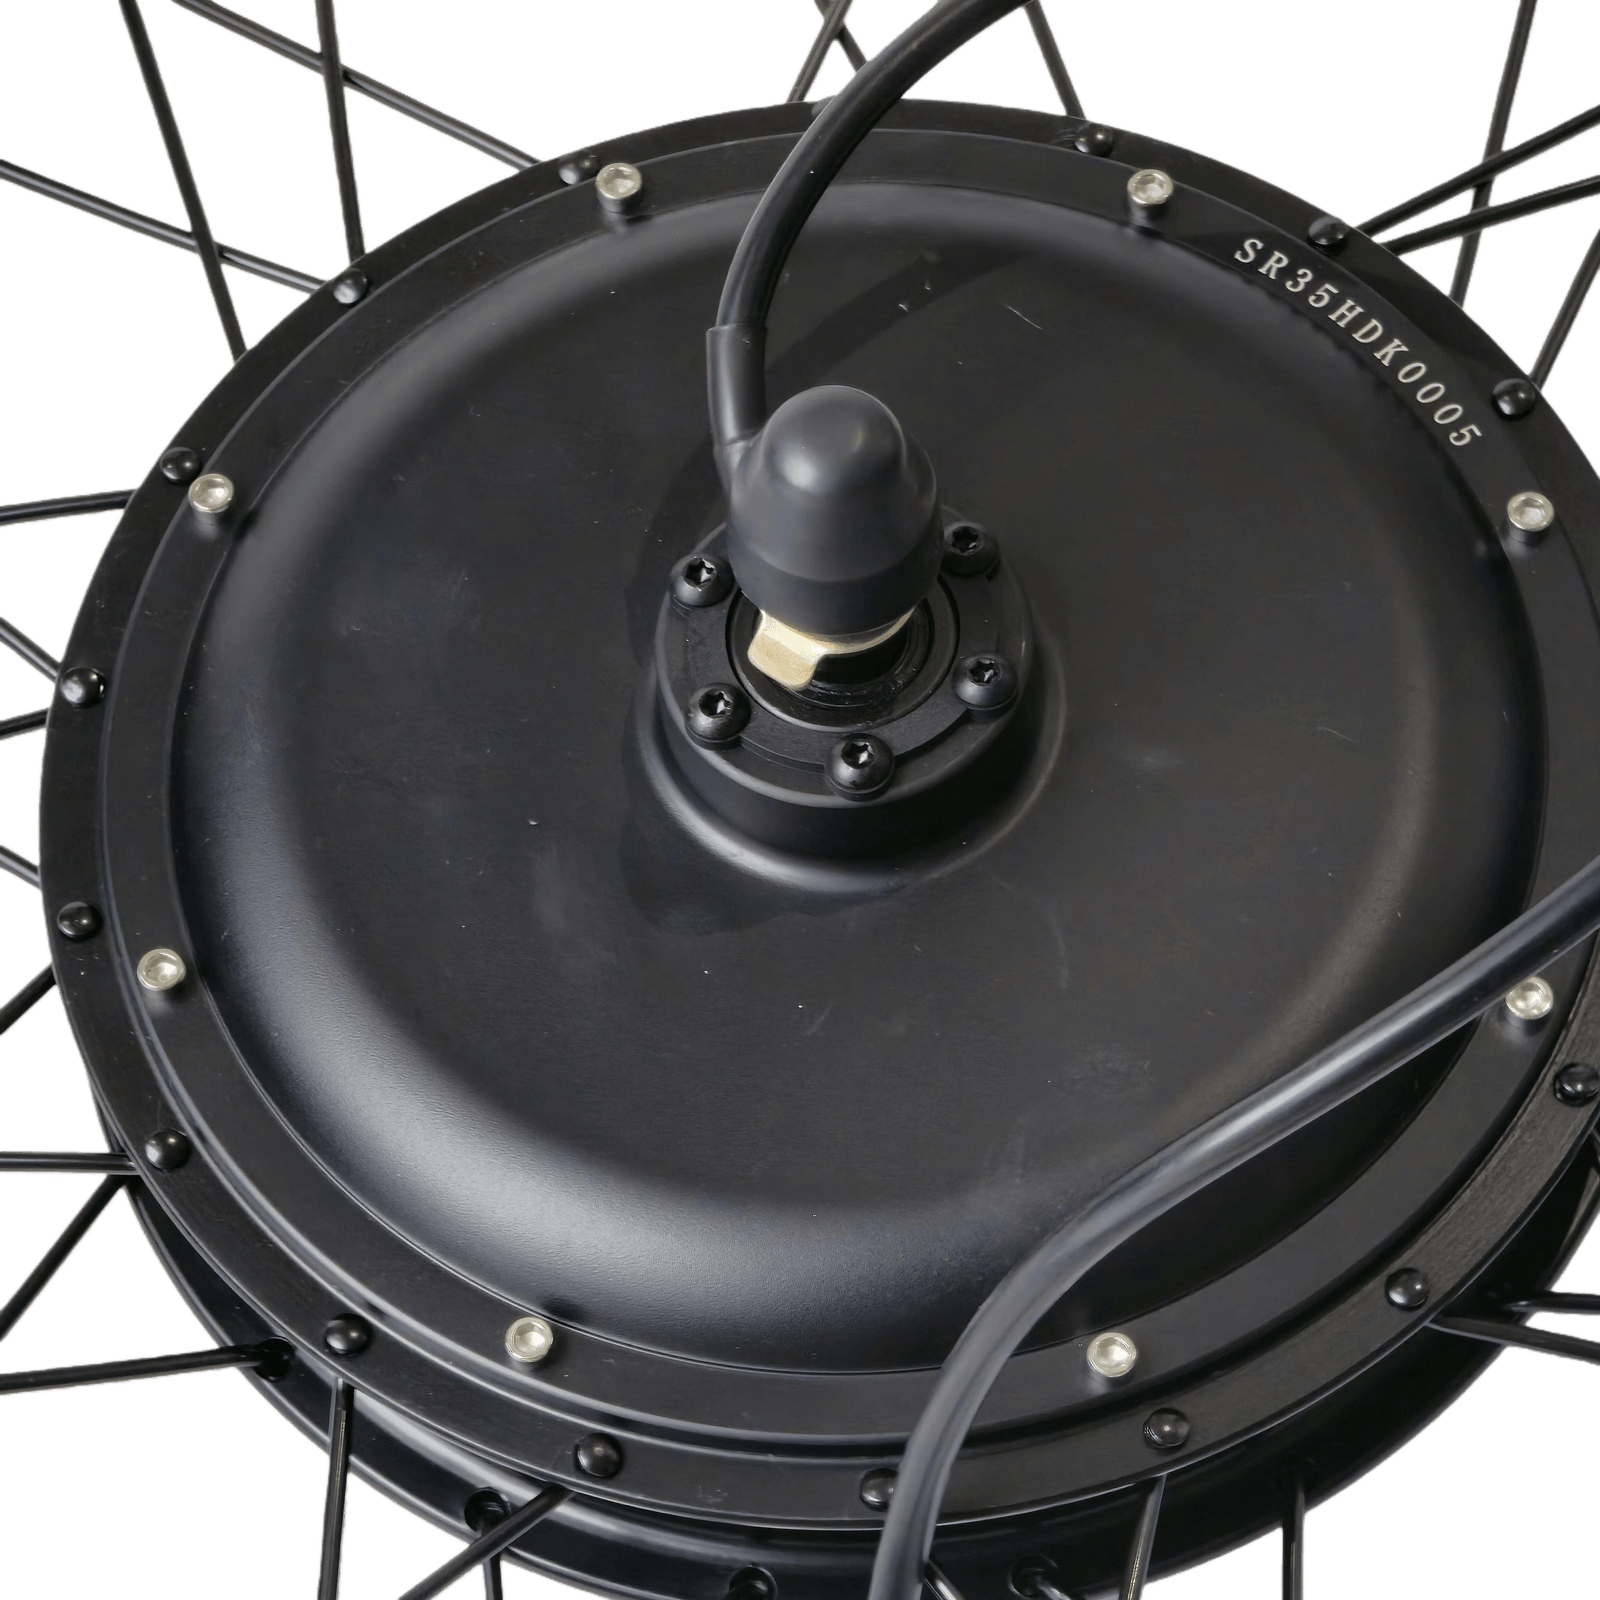
Remove the axle cover on the brake disc side
Remove the axle cover, axle nut, and washers on the brake disc side, the side where the brake disc will sit. Set them aside.
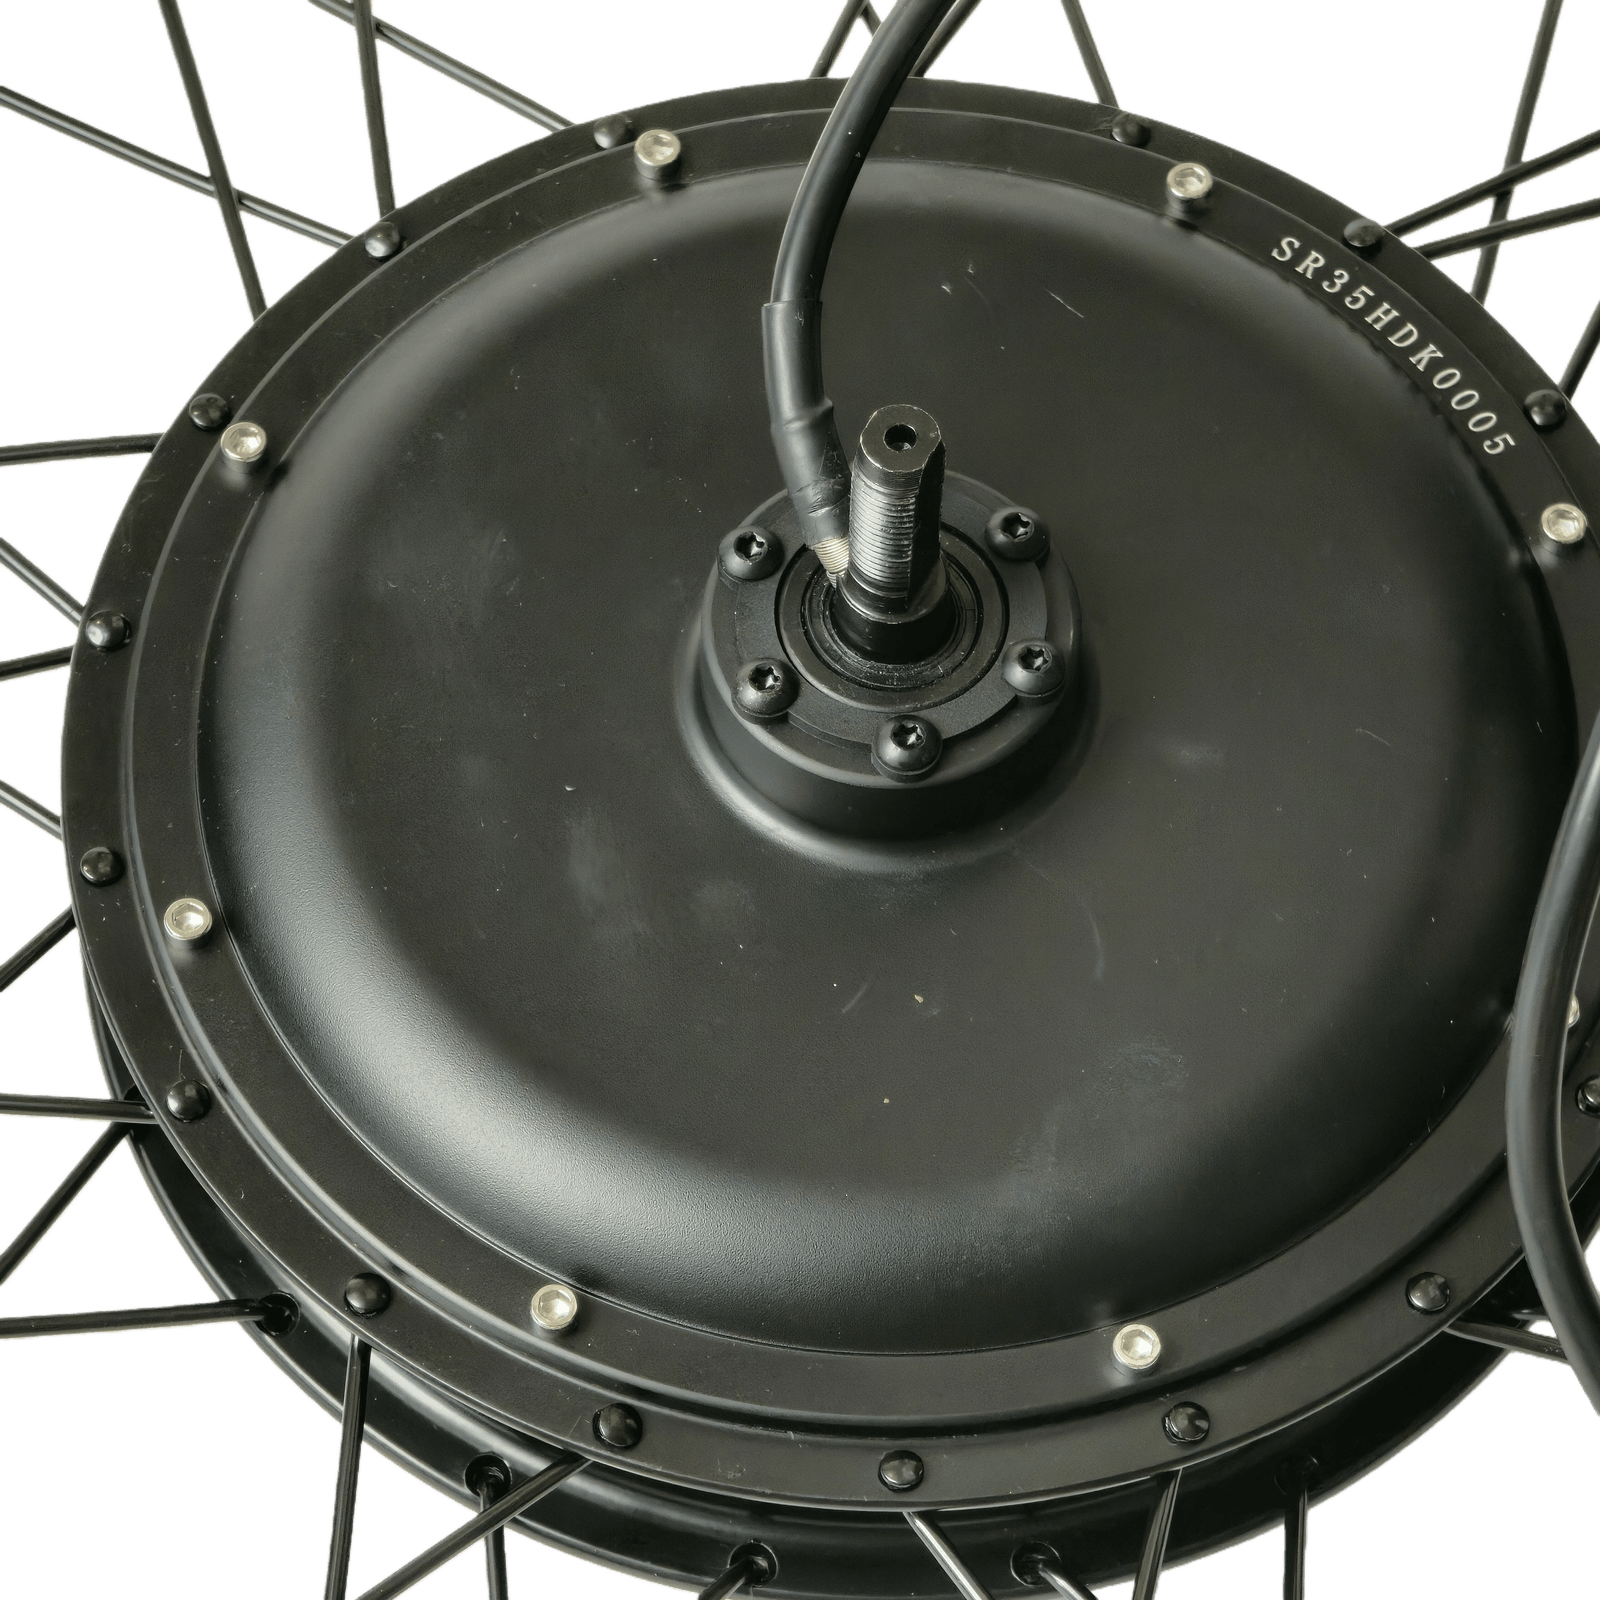
Remove the plastic spacer
Unscrew the bolts holding the plastic spacer on the brake disc mount and remove the spacer.
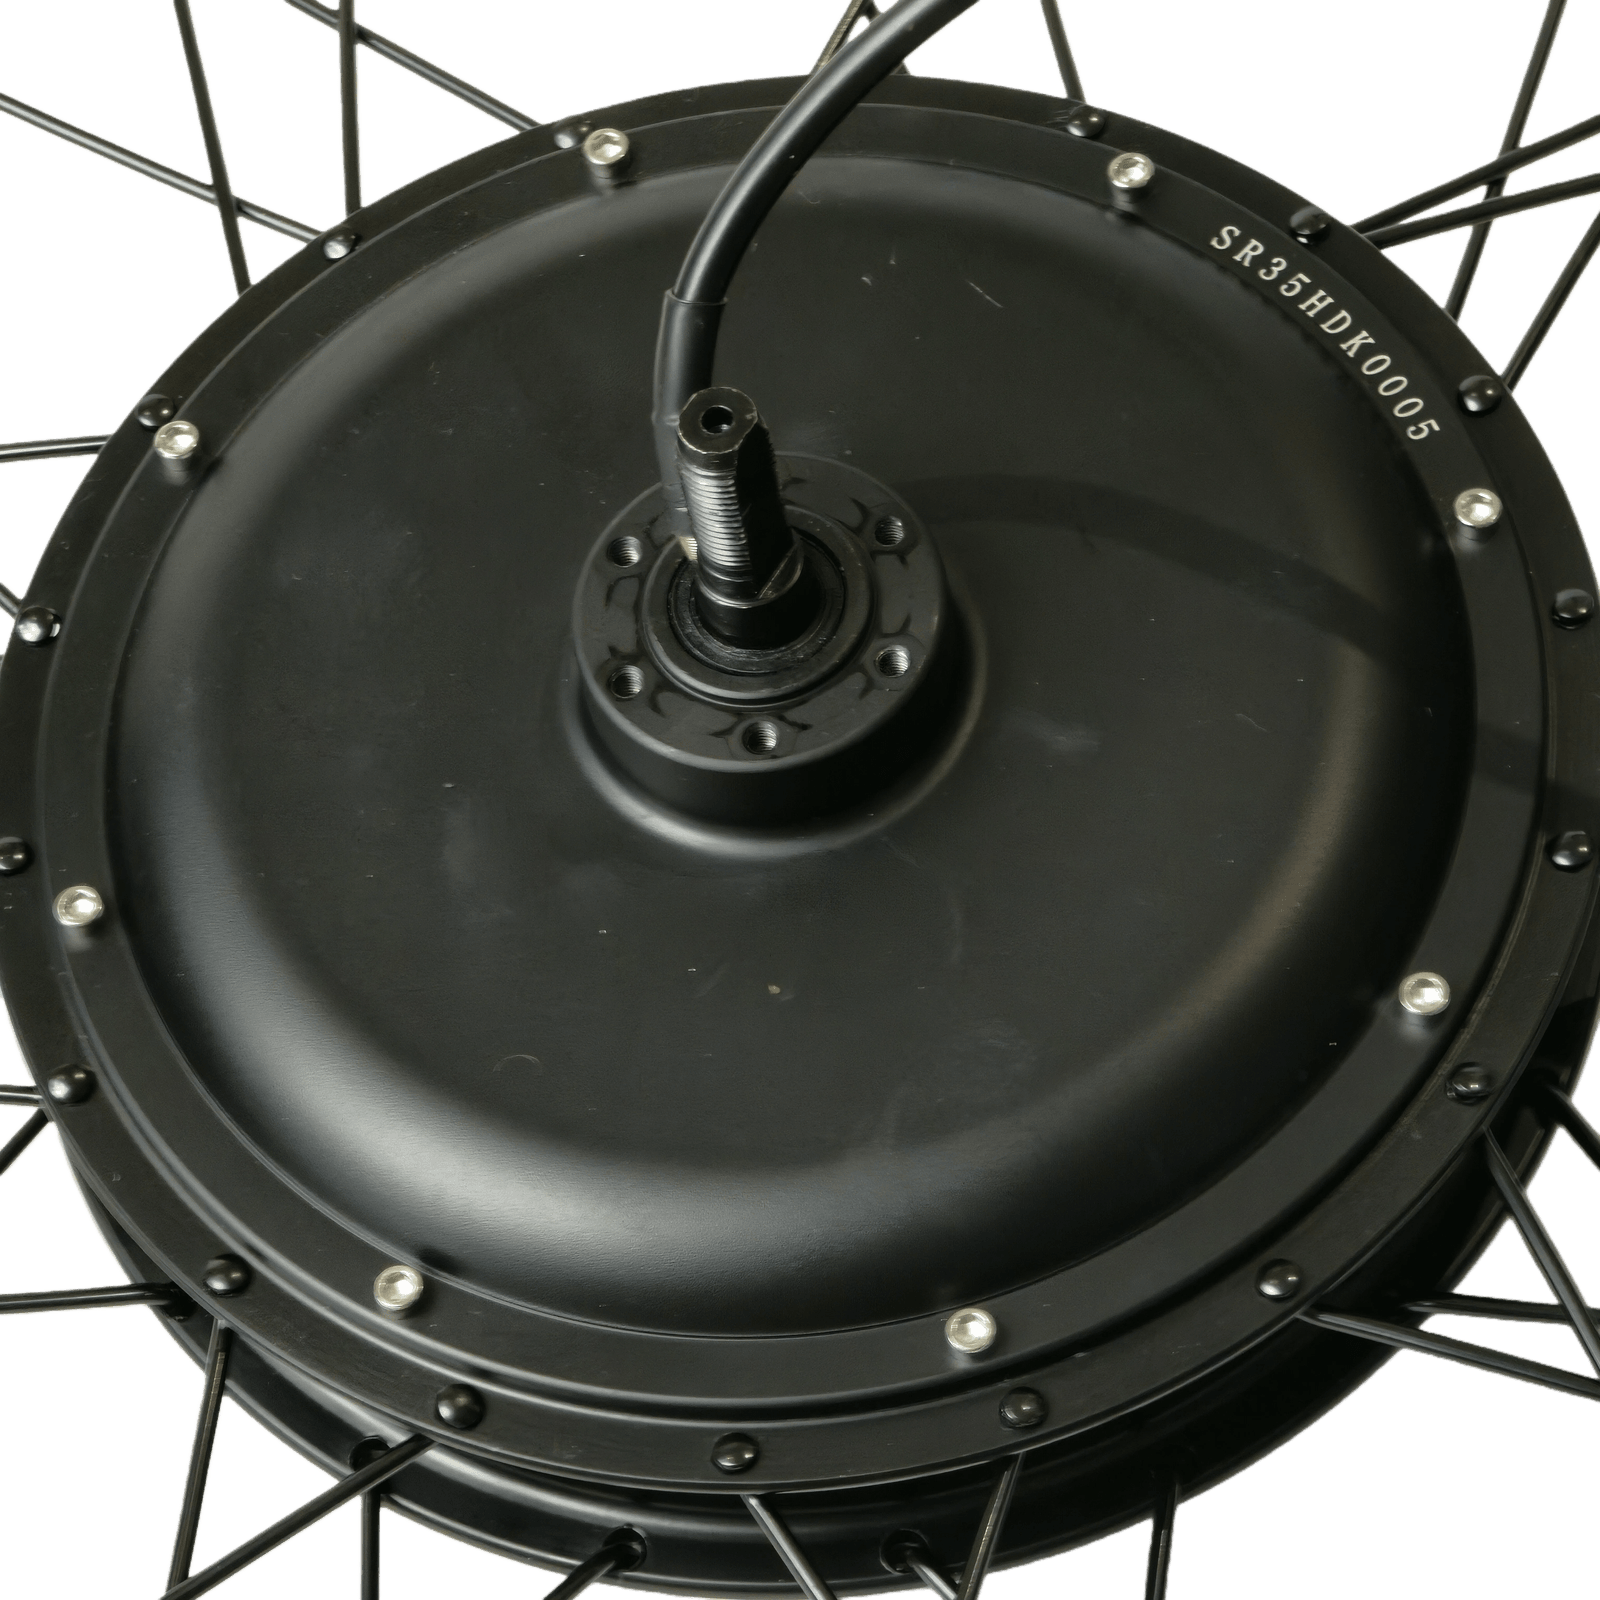
Part C: Mount the brake disc
Install the brake disc
Mount the brake disc on the motor.
-
Rotation direction: The brake disc has a marked rotation direction, usually an arrow or text. The disc should rotate counterclockwise when you look at it from above with the wheel lying flat.
-
Motor cables: You need to thread the motor cable through the center hole in the brake disc before mounting it.
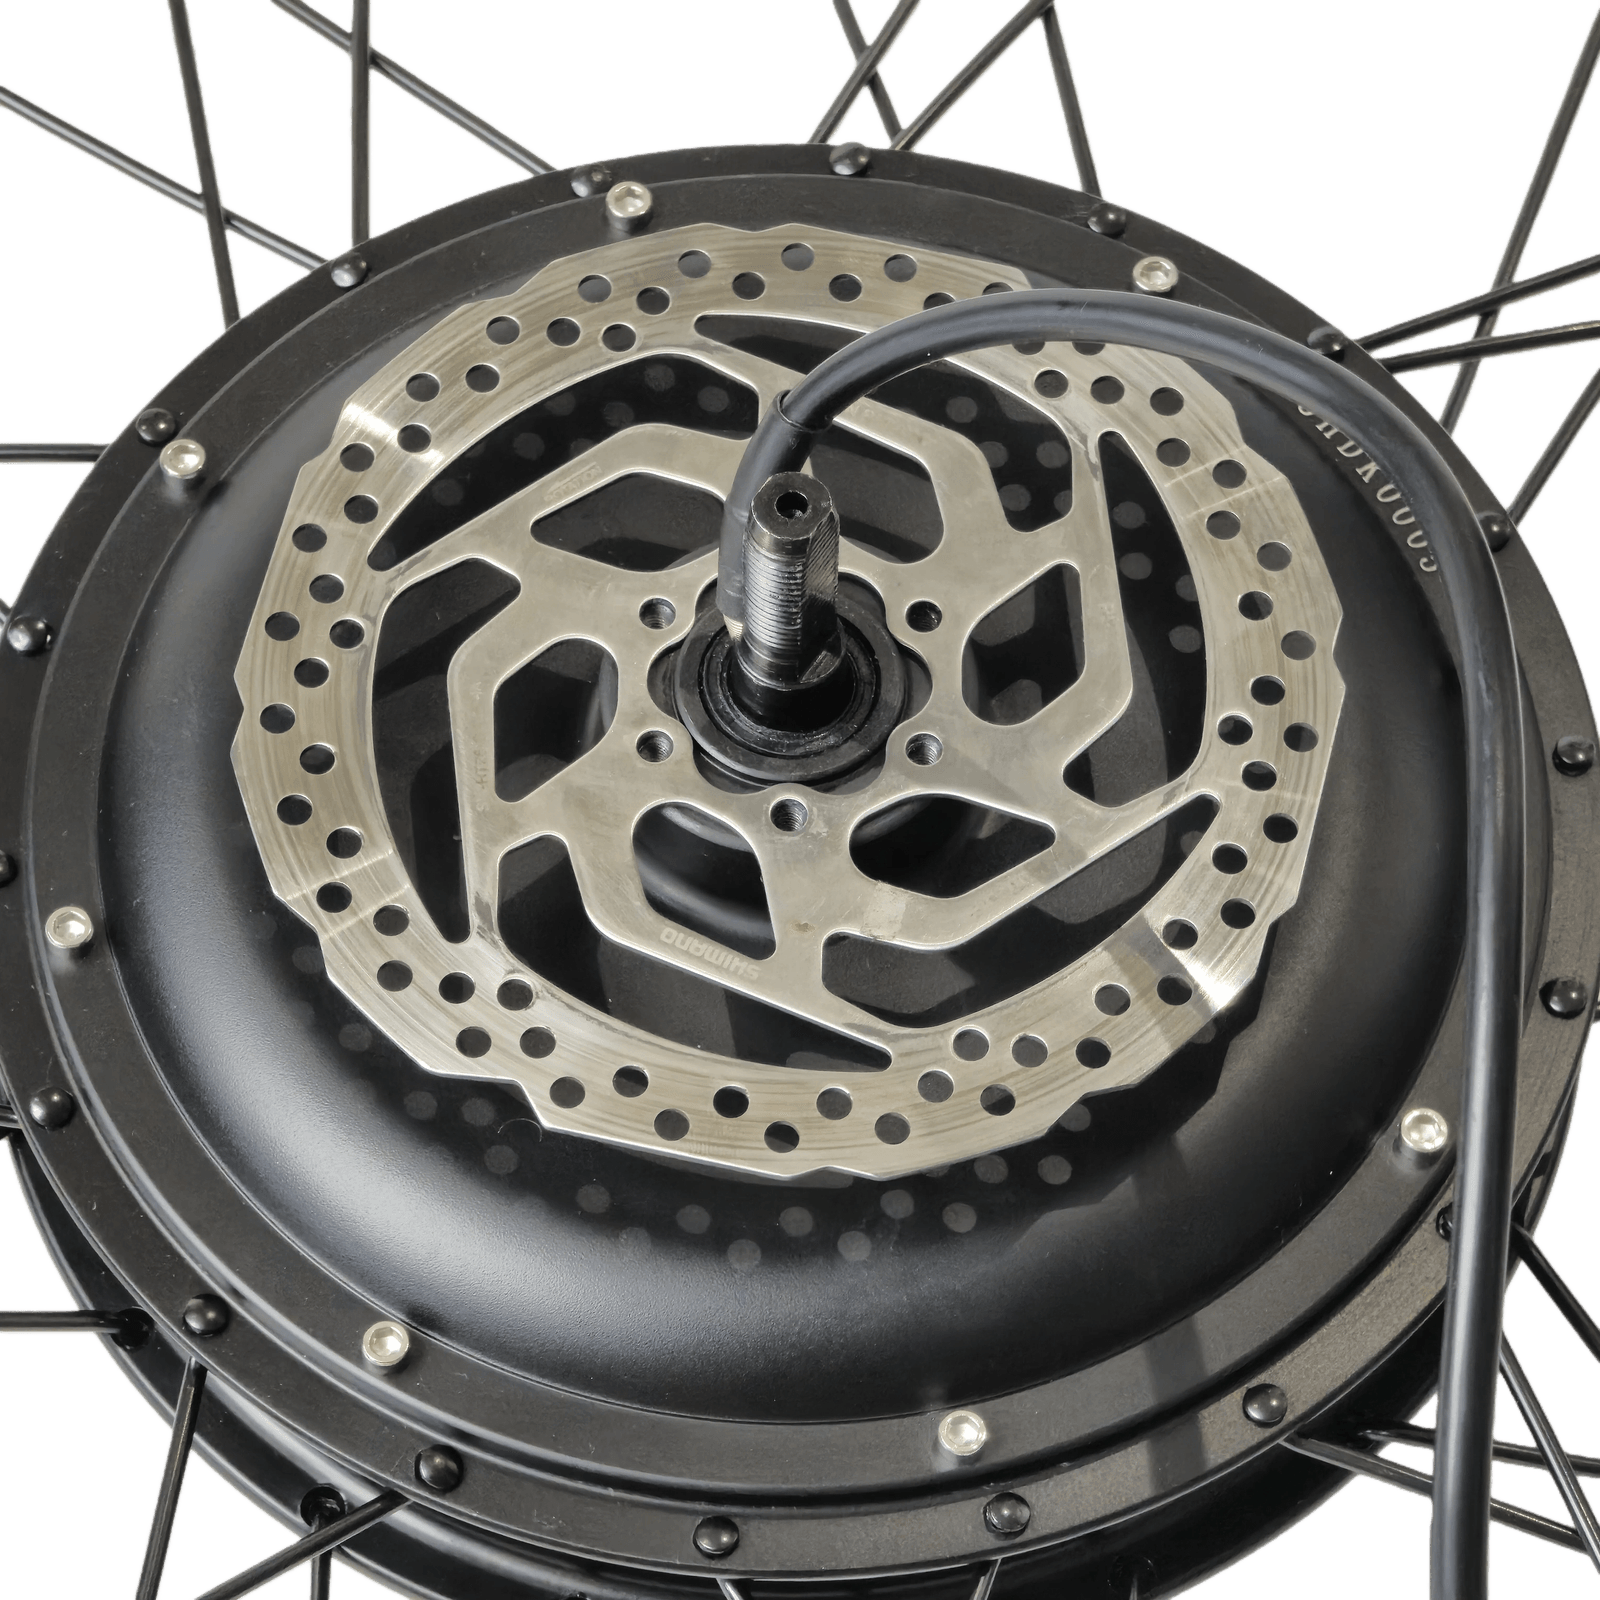
Fasten the brake disc
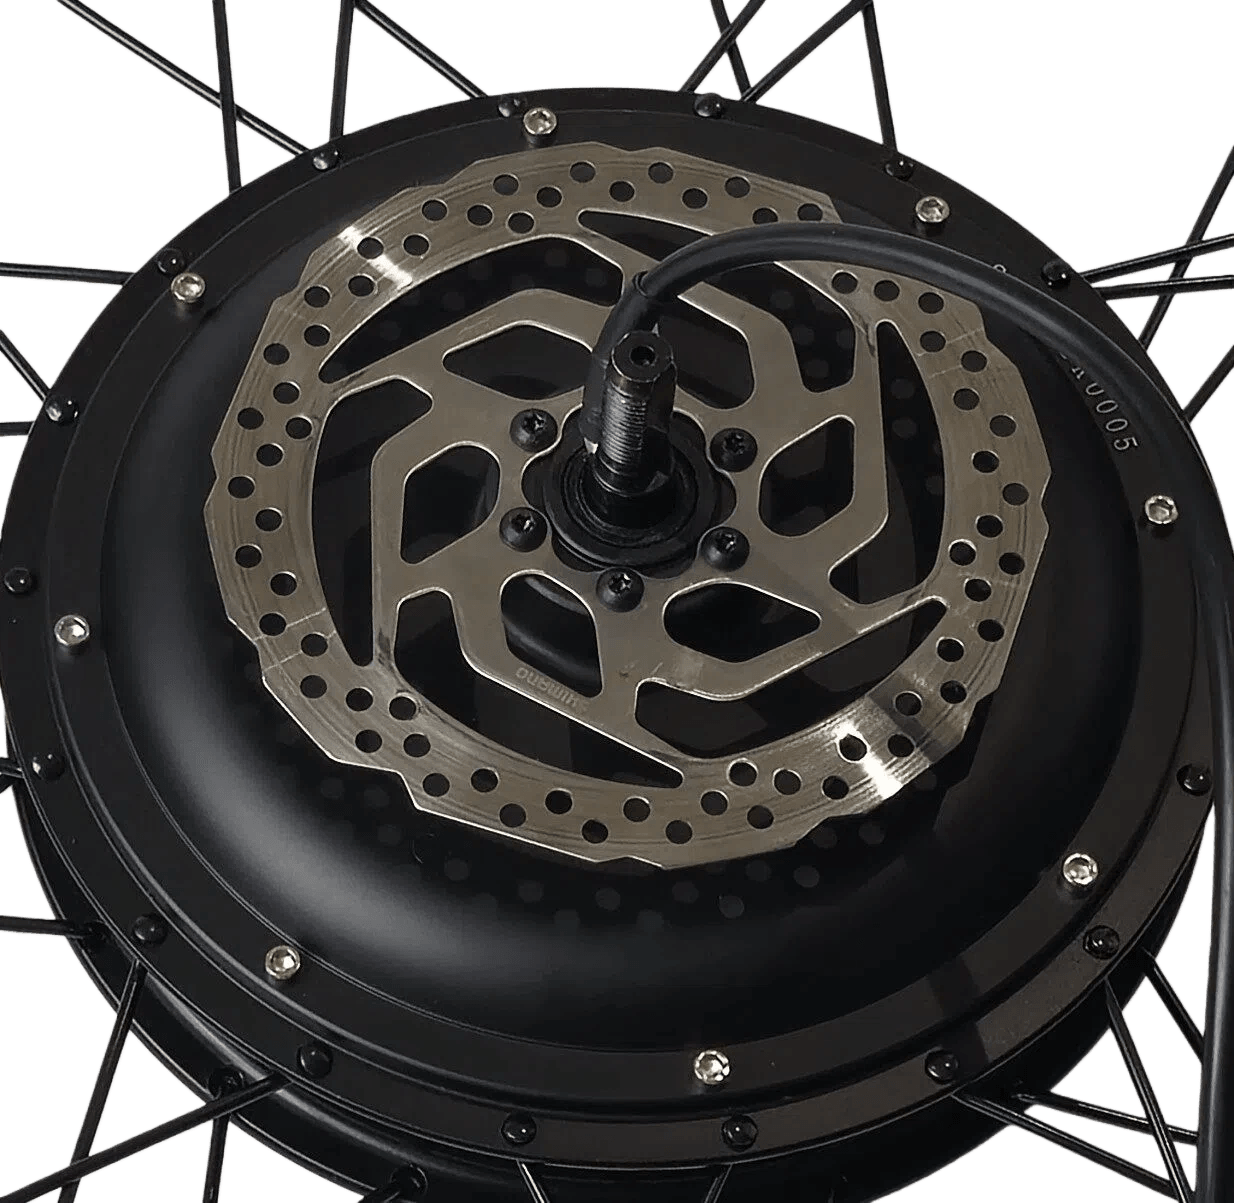
Fasten the brake disc with the included screws.
Tighten in a star pattern for even clamping:
- Tighten one screw lightly
- Tighten the screw opposite it lightly
- Continue around until all screws are lightly snug
- Then go around again and tighten them properly
If you have a torque wrench: tighten to 6 Nm.
Part D: Mount the freewheel
Turn the wheel over
Turn the wheel so the freewheel side, the drive side, is facing up.
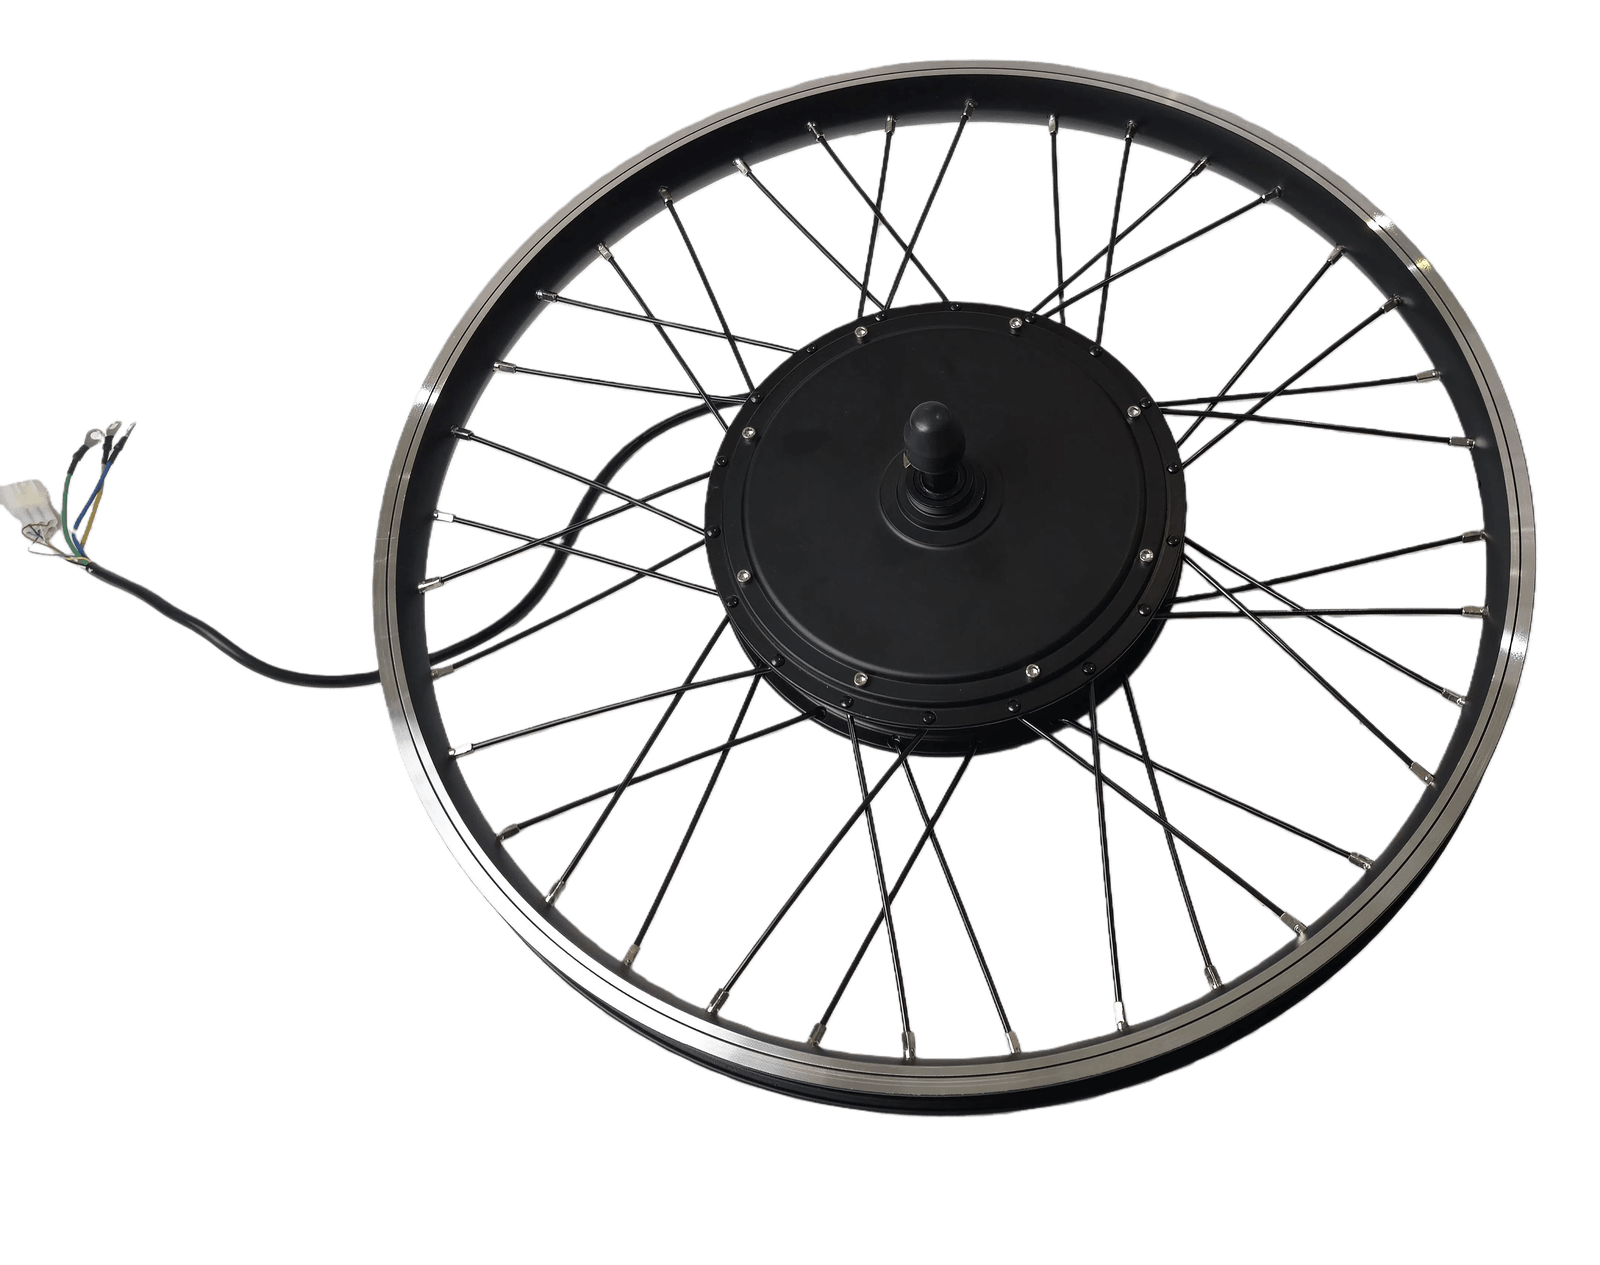
Remove the axle cover on the freewheel side
Remove the axle cover, nut, and washers on the freewheel side. Set them aside.
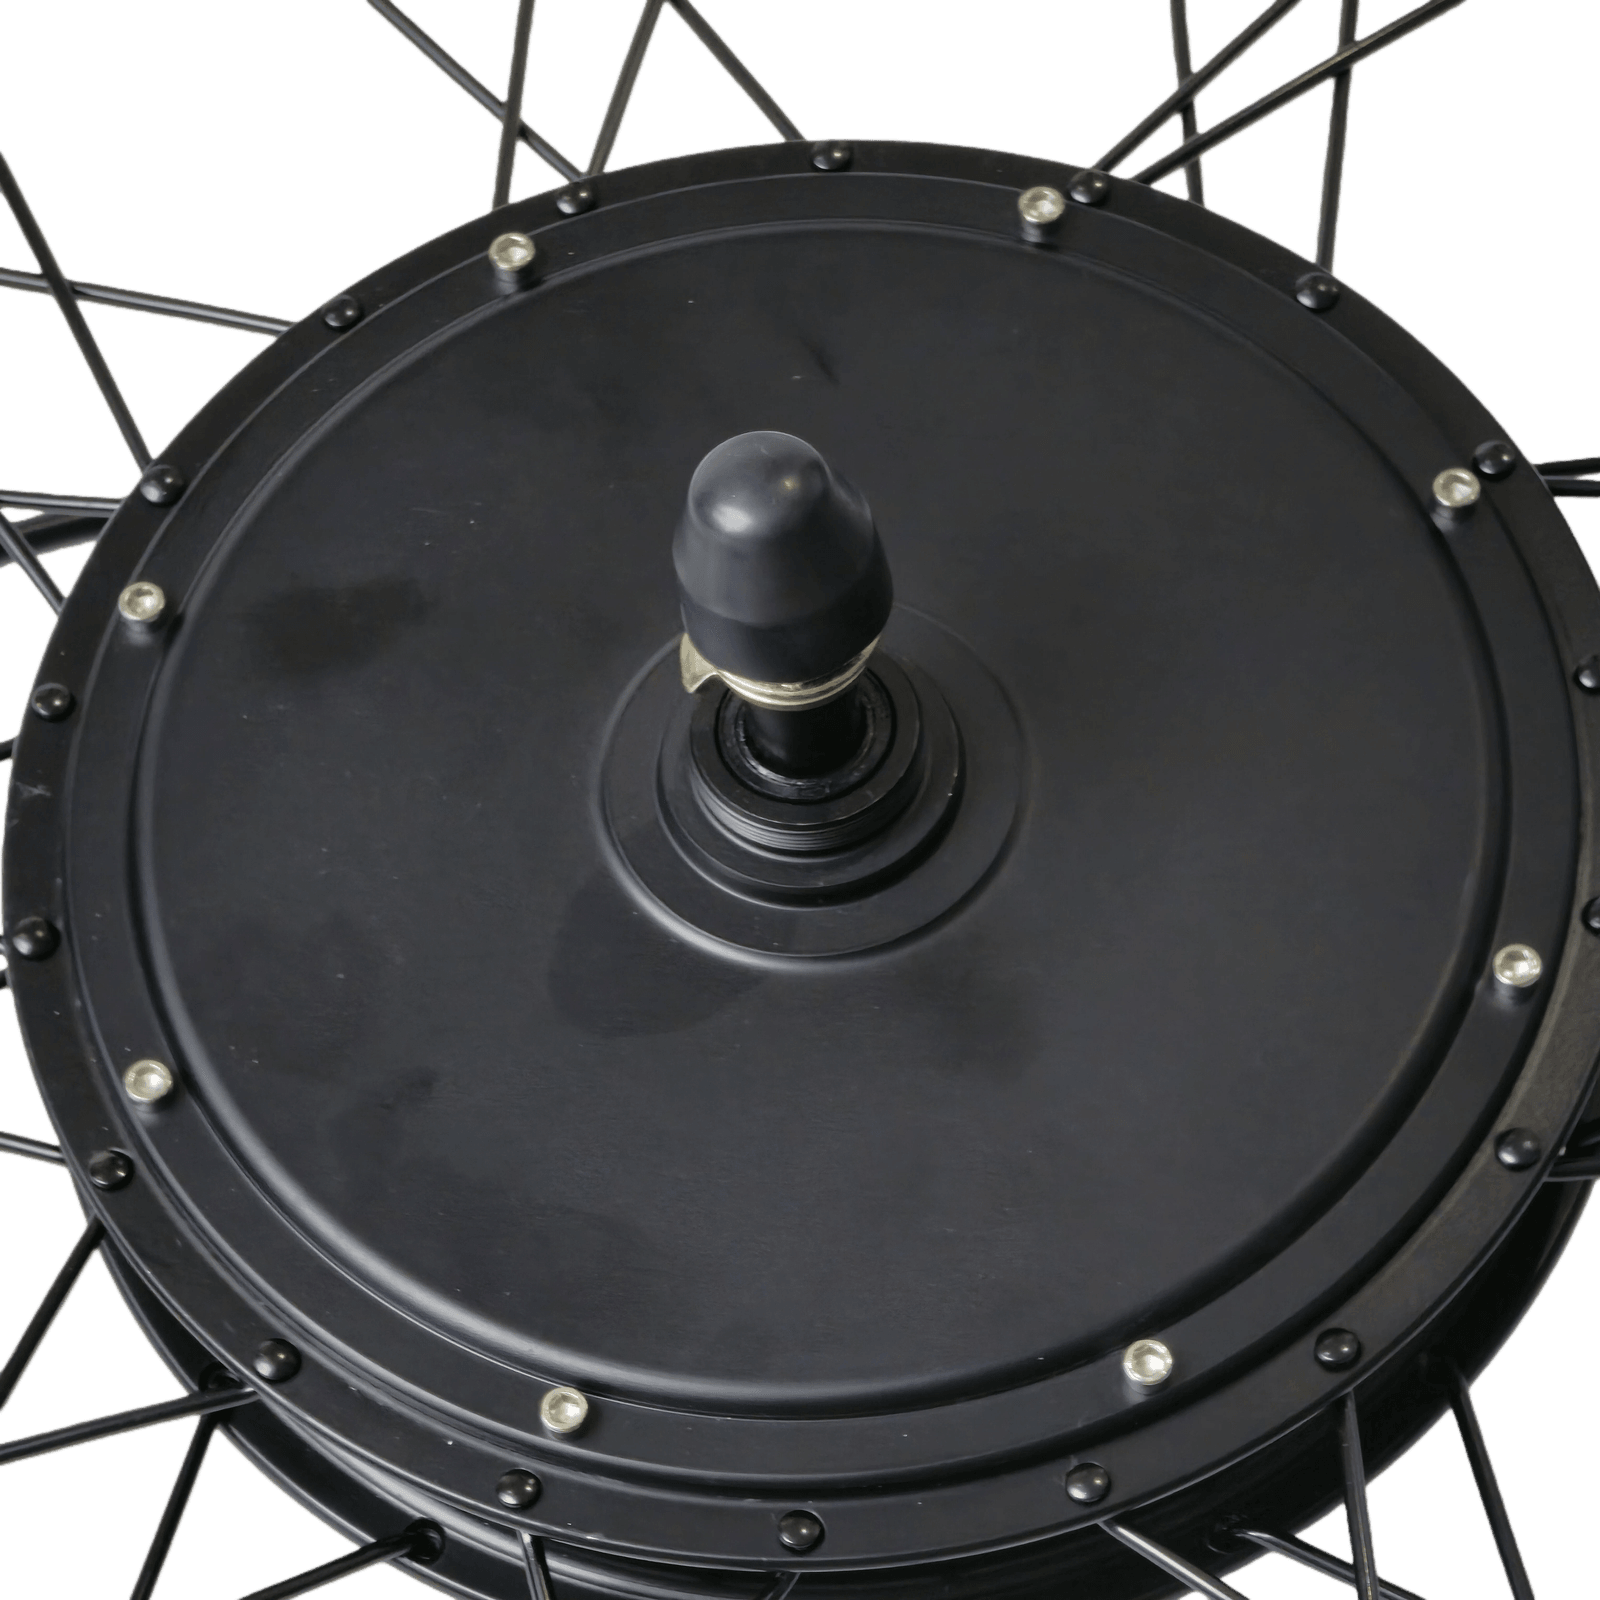
Screw on the freewheel
Screw the freewheel onto the motor hub. Tighten it by hand only. You do not need tools.
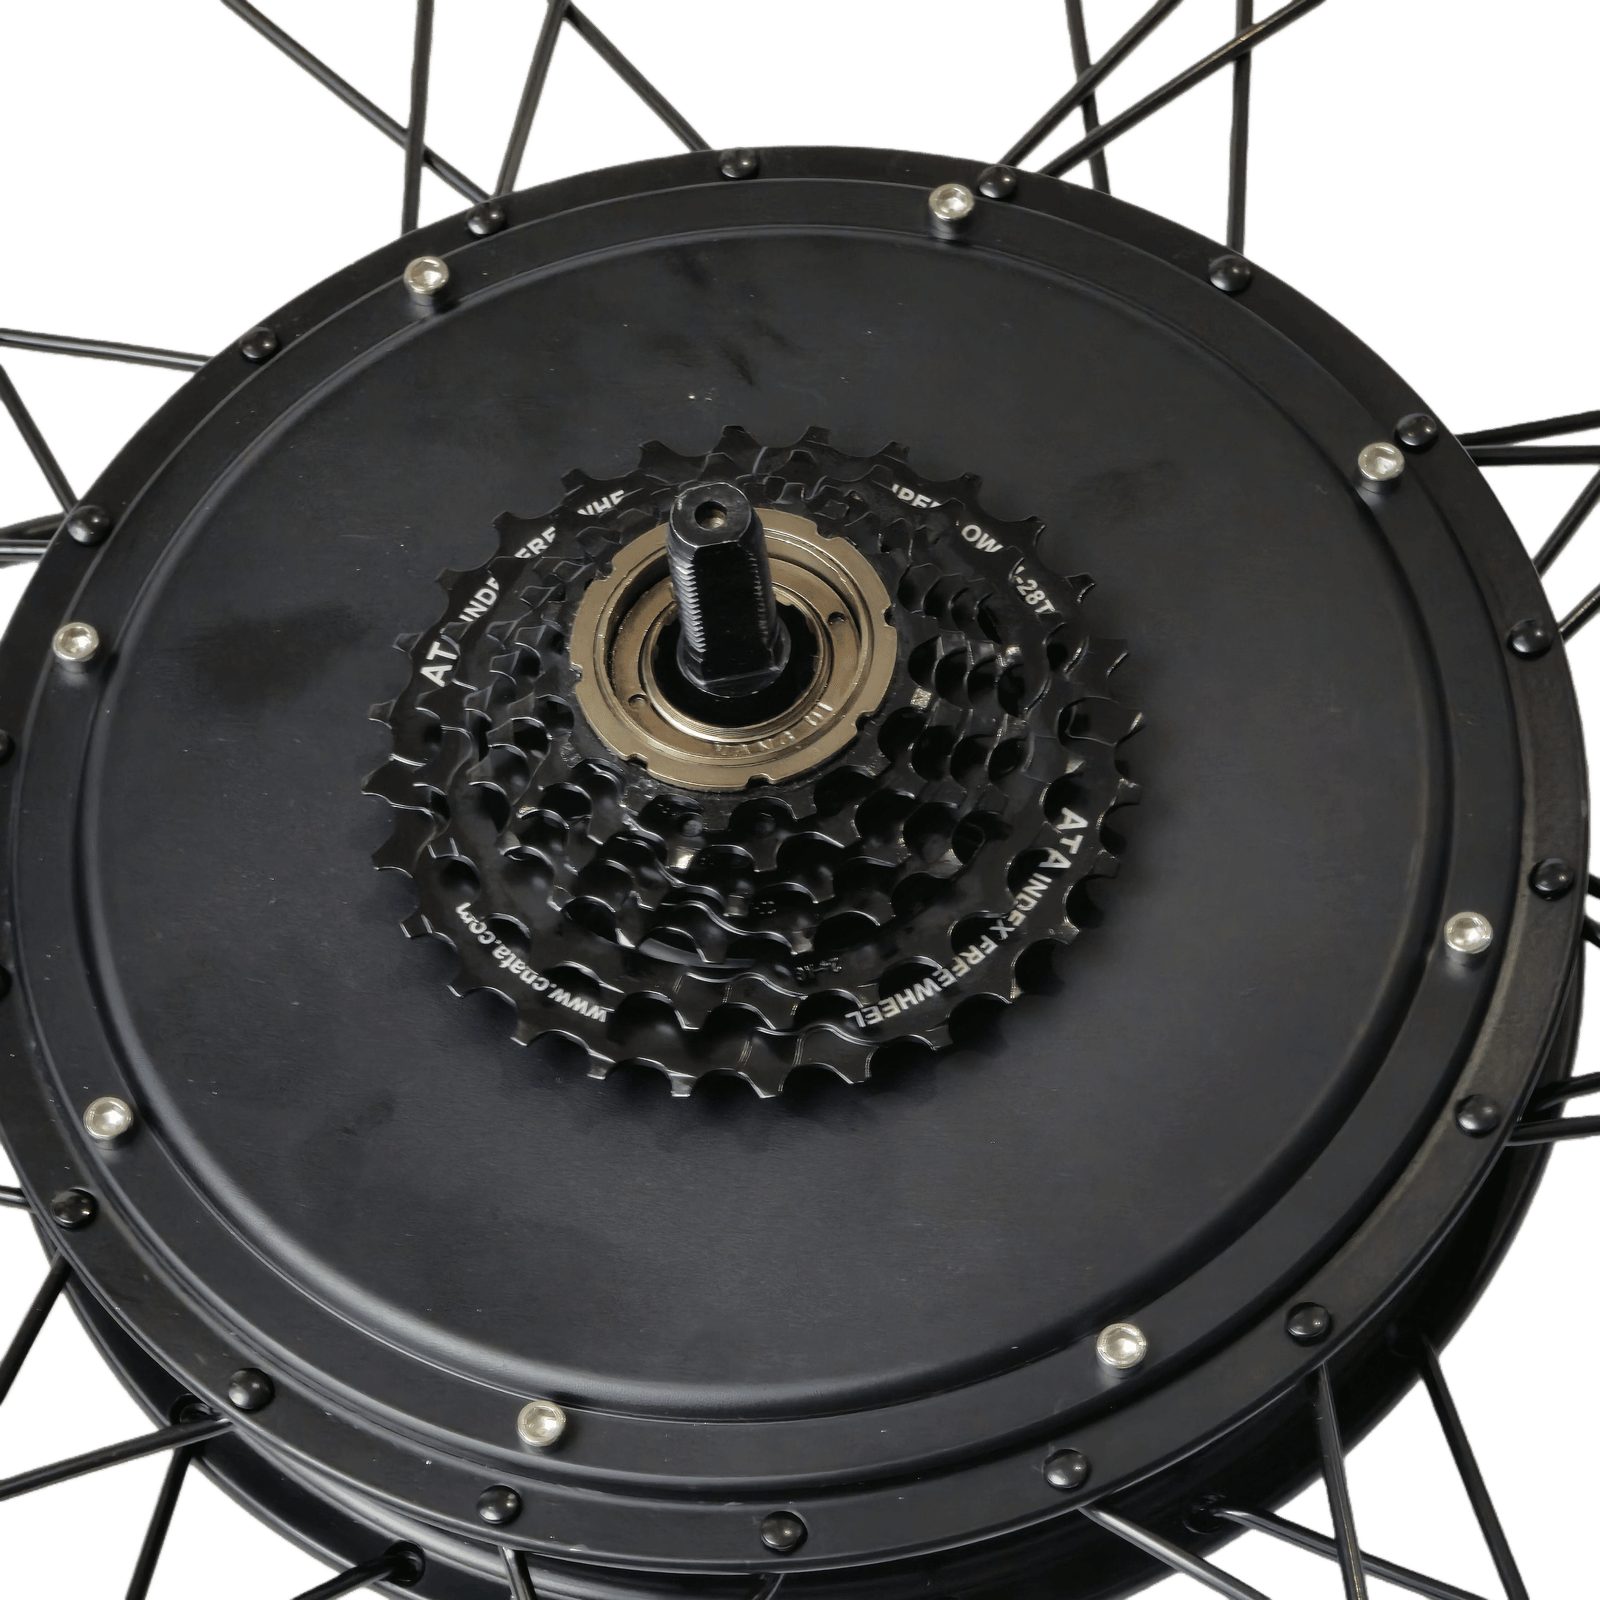
The first time you pedal, the chain will automatically tighten the freewheel properly. Hand-tight is enough for assembly.
Done!
The motor wheel is now prepared with a brake disc and freewheel.
Next step: Step 3: Mount the tire and tube