Step 4: Install the motor wheel
Now you will install the motor wheel in the bike frame. This is the most technical step, so take your time and follow the instructions carefully. The torque arms are critical for safety.
Motor wheel ready
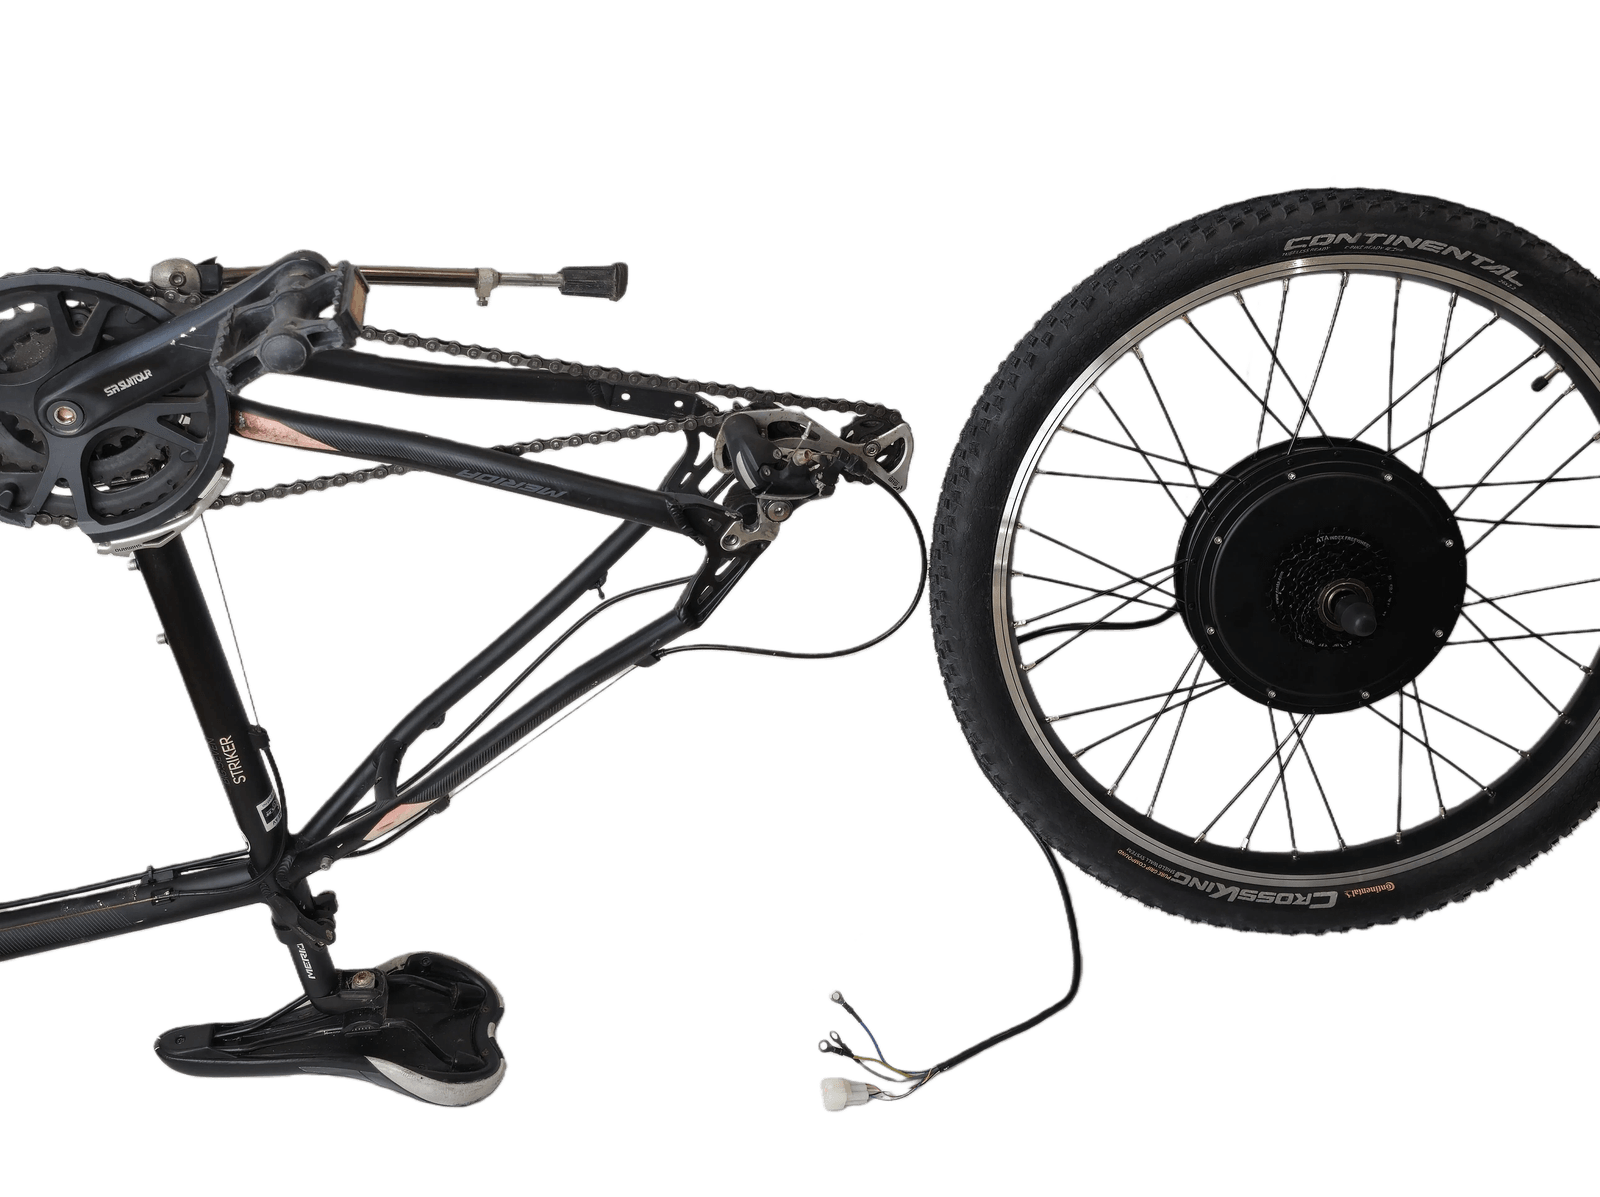
This is what it should look like: the motor wheel with the tire installed, ready to mount, next to the bike that is still upside down.
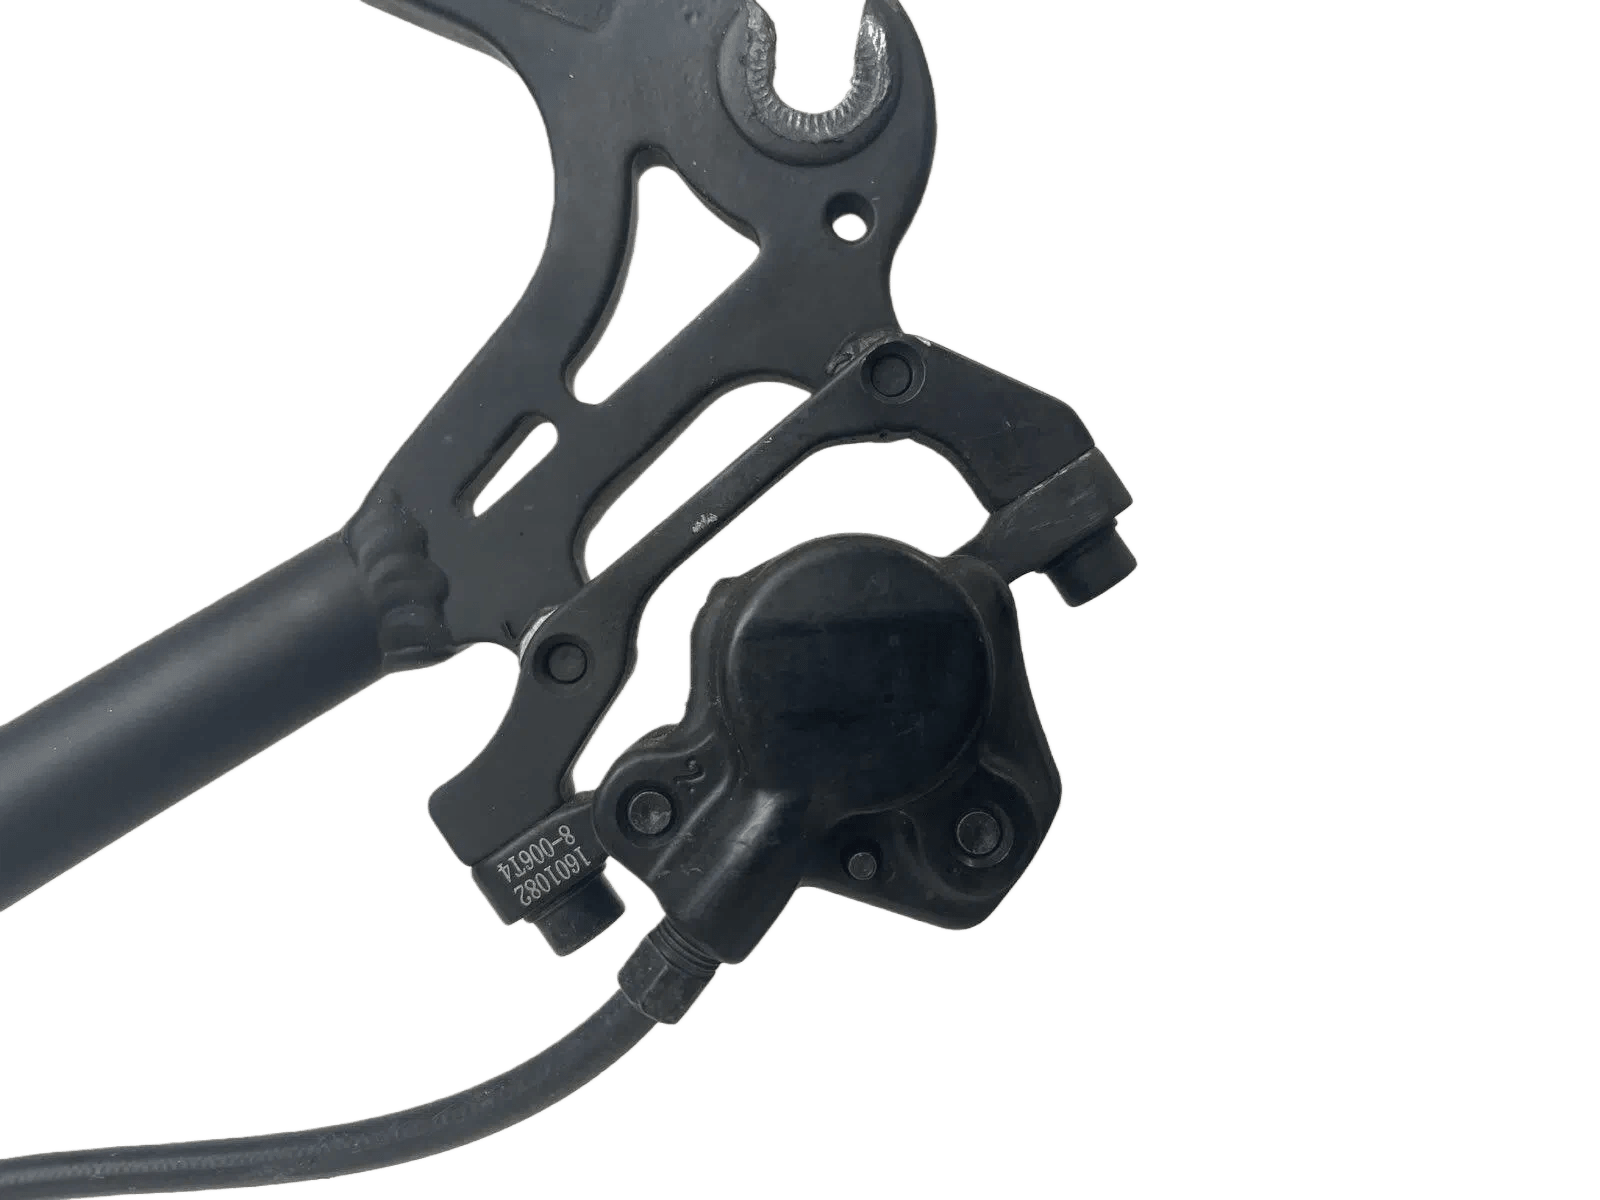
Loosen the brake caliper screws
Loosen the screws that attach the brake caliper to the frame, or to a spacer attached to the frame.
Important: Only loosen them. Do not remove them completely.
Test fitting the wheel
Hold the rear derailleur out of the way with one hand and try to fit the motor wheel into the dropouts.
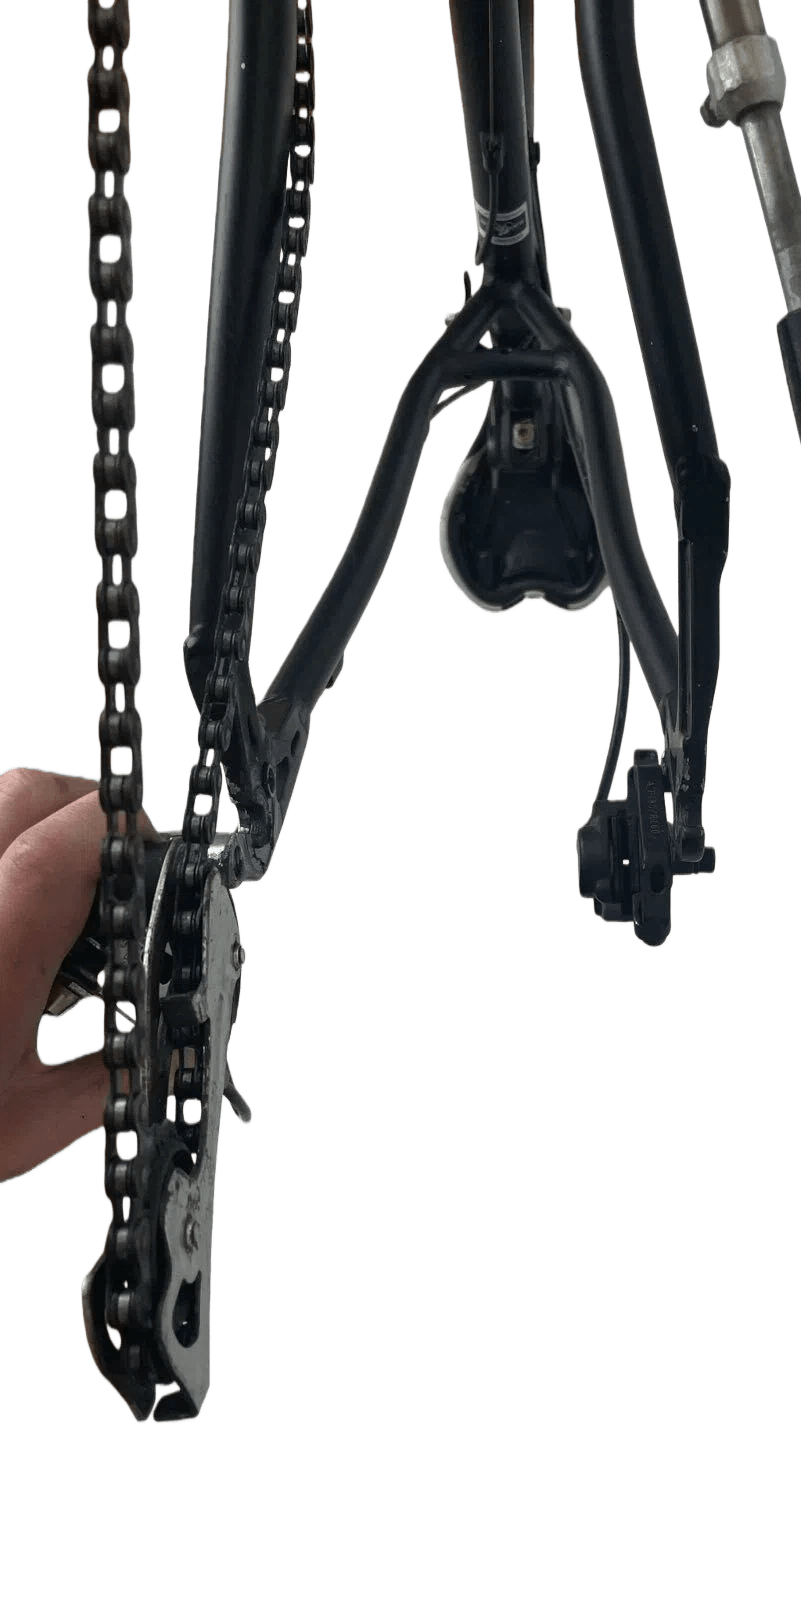
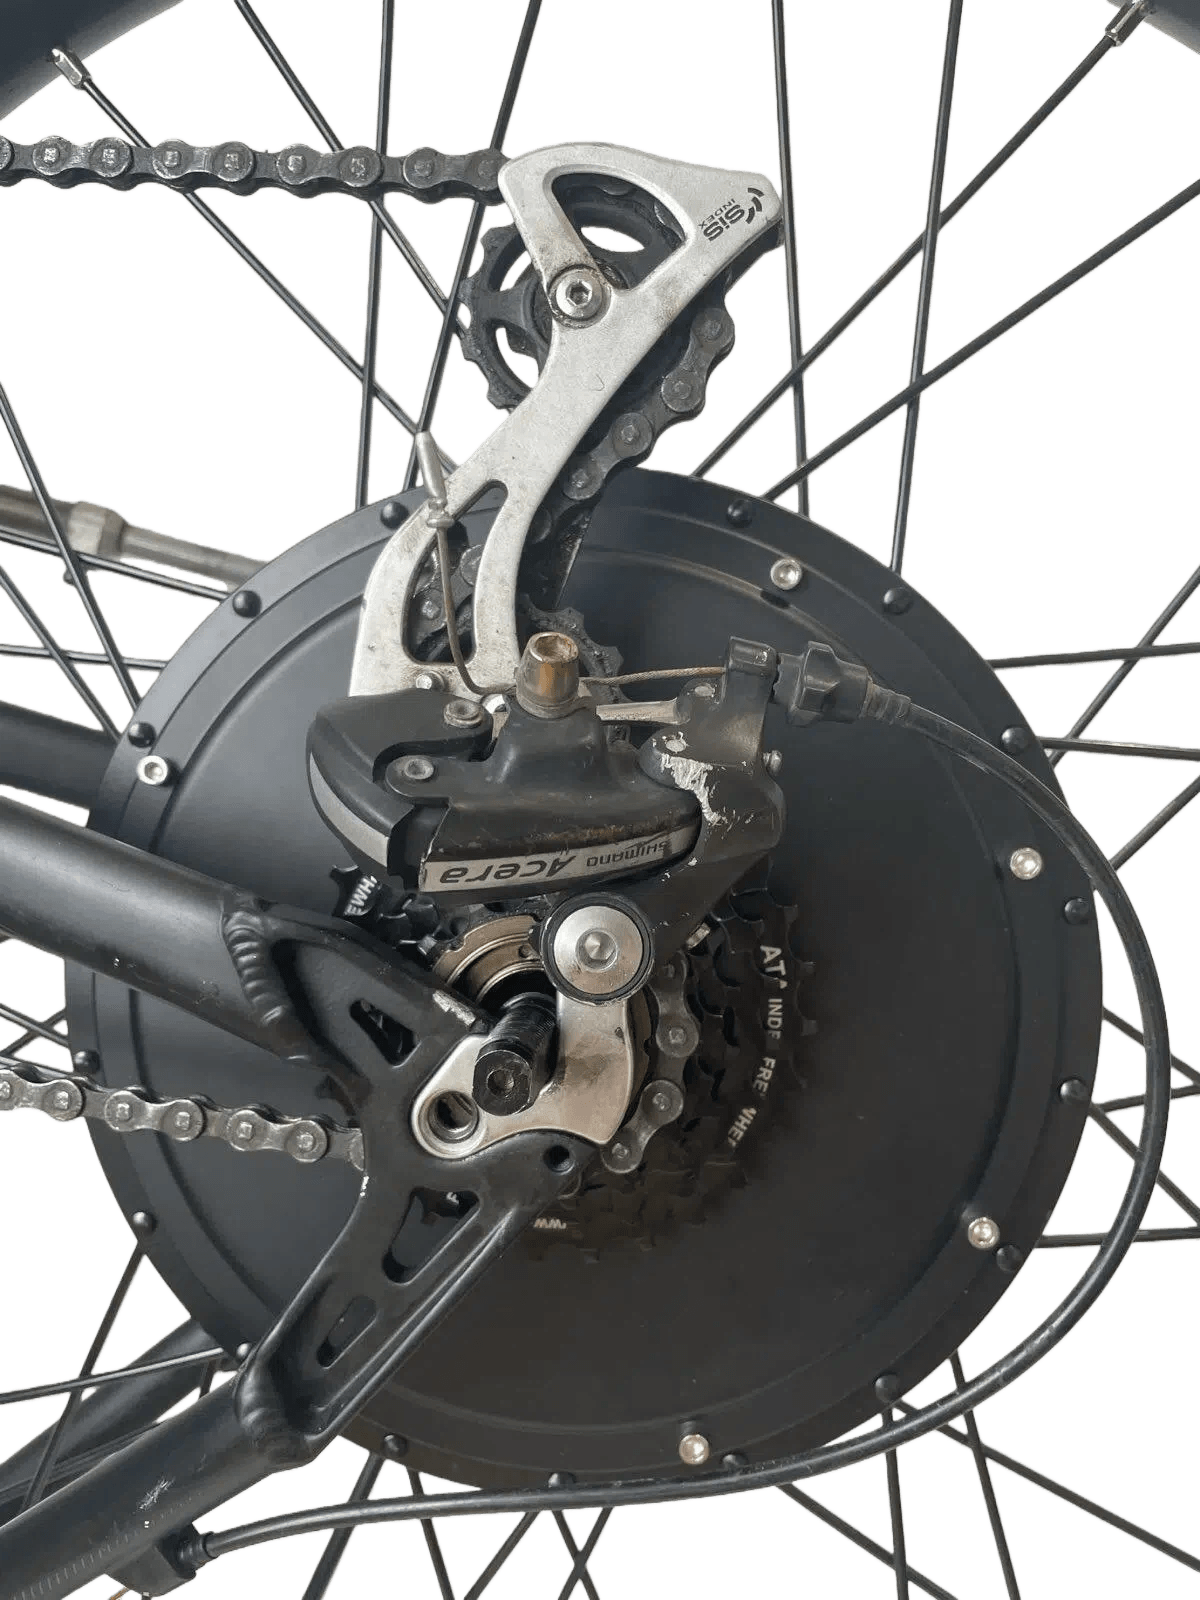
Does it fit?
If yes: Spin the wheel. It should rotate forward without friction. The motor will create a little natural resistance, which is normal, but it should not rub or drag. Note that if the phase wires, marked U, V, and W, touch each other, the wheel will not spin freely. Make sure they do not touch. Continue to Mount the cog washer.
If no: Keep reading below.
Adjust with washers and spacers
If the wheel does not fit, or if something is rubbing, you need to use the washers and spacers that came with the kit.
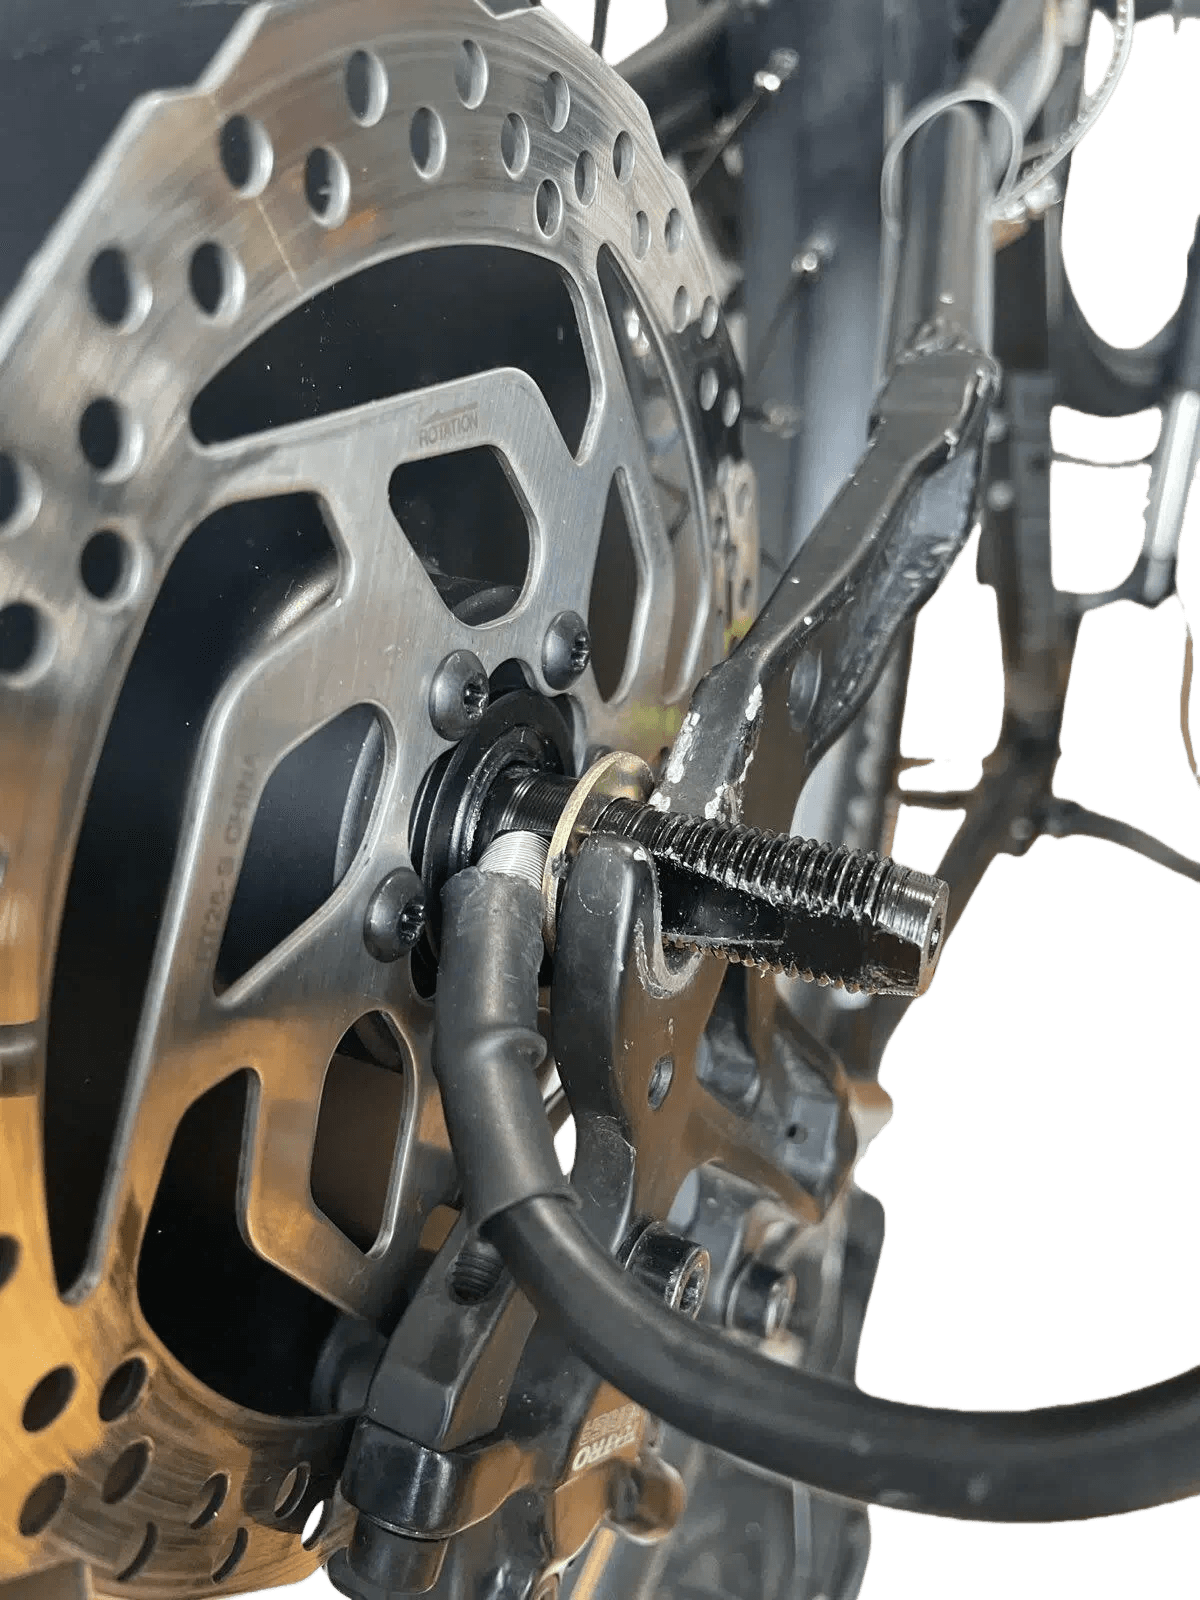
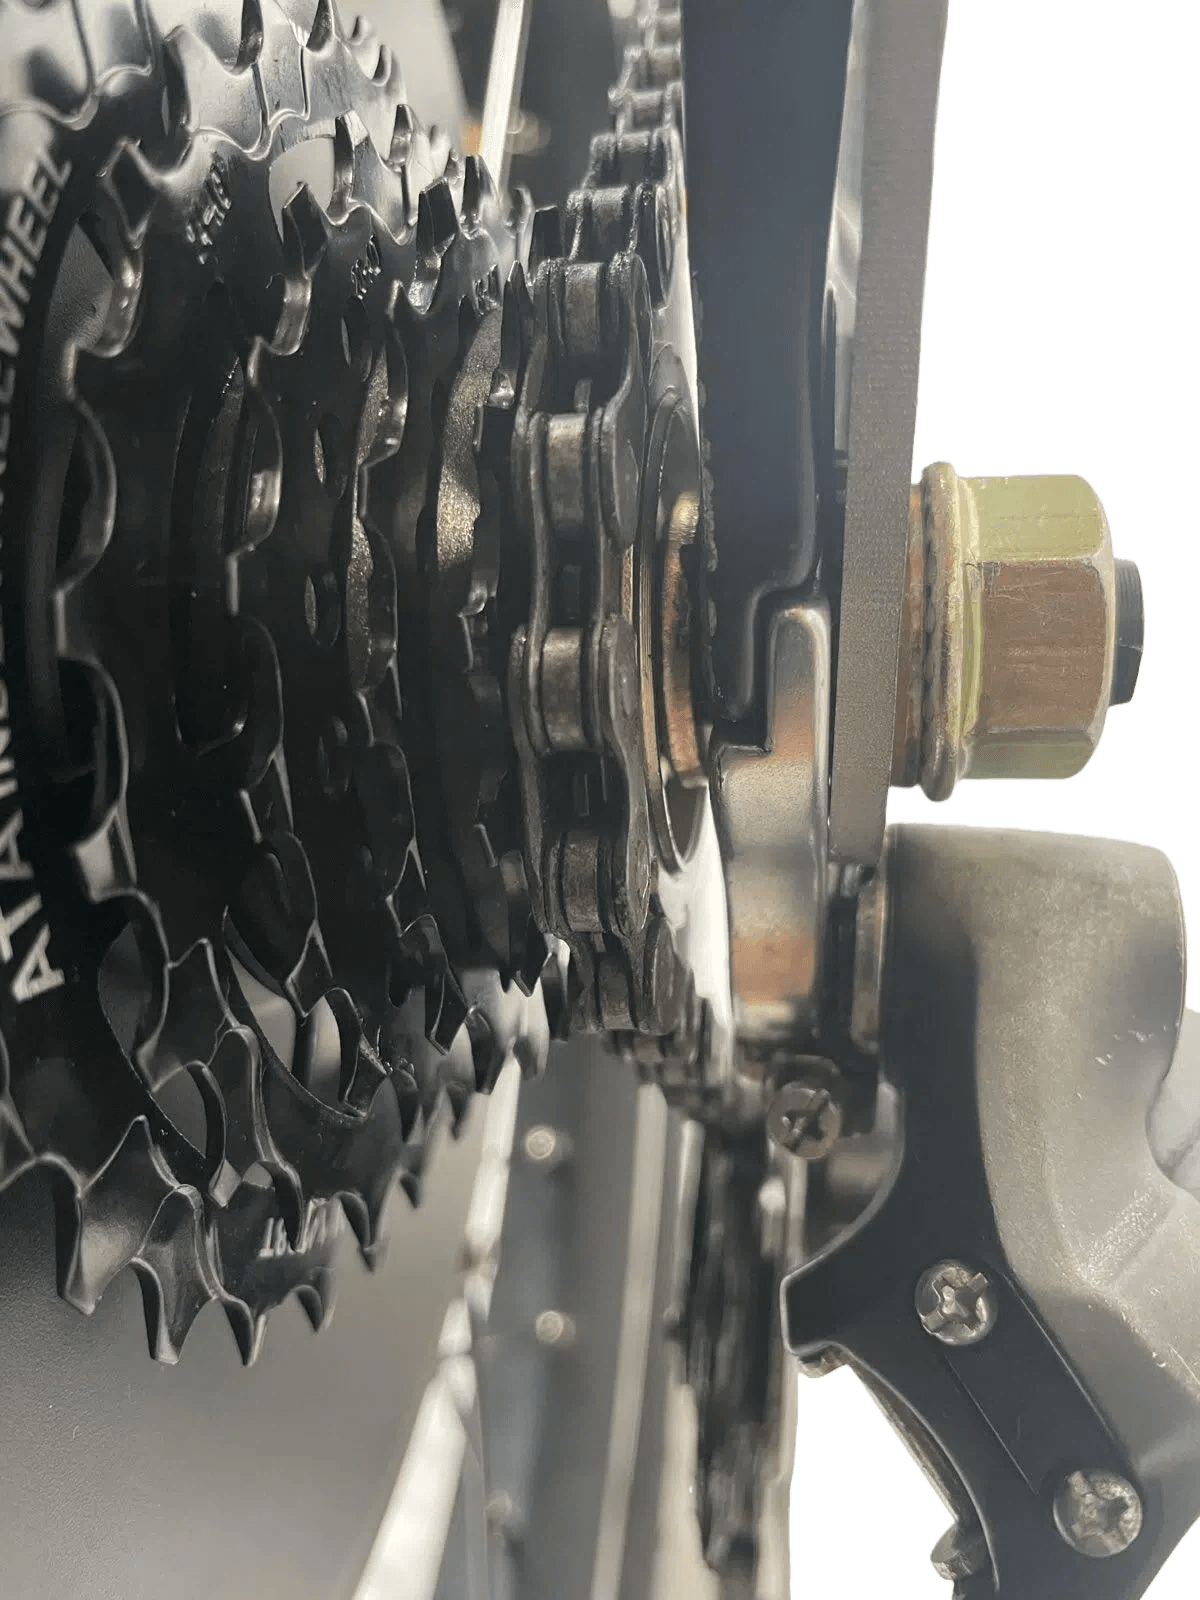
Check:
- Does the freewheel hit the dropout on the freewheel side? Add a spacer inside the dropout on that side.
- Does the brake disc hit the brake caliper even though the screws are loosened? Add a spacer inside the dropout on the brake disc side.
- Do you need to adjust how the brake disc sits relative to the brake caliper? Choose the appropriate spacer.
Choose the correct spacers from the ones included in the kit and place them on the axle.
Then hold the rear derailleur out of the way again and fit the motor wheel. Make sure the spacers end up on the inside of the dropout when you lower the wheel into place.
Pulling the dropouts apart by a few millimeters is fine even on an aluminum frame. On a steel frame you can bend them 1 to 2 cm without problems. We do not take responsibility for frame damage.
Check that the wheel now spins freely:
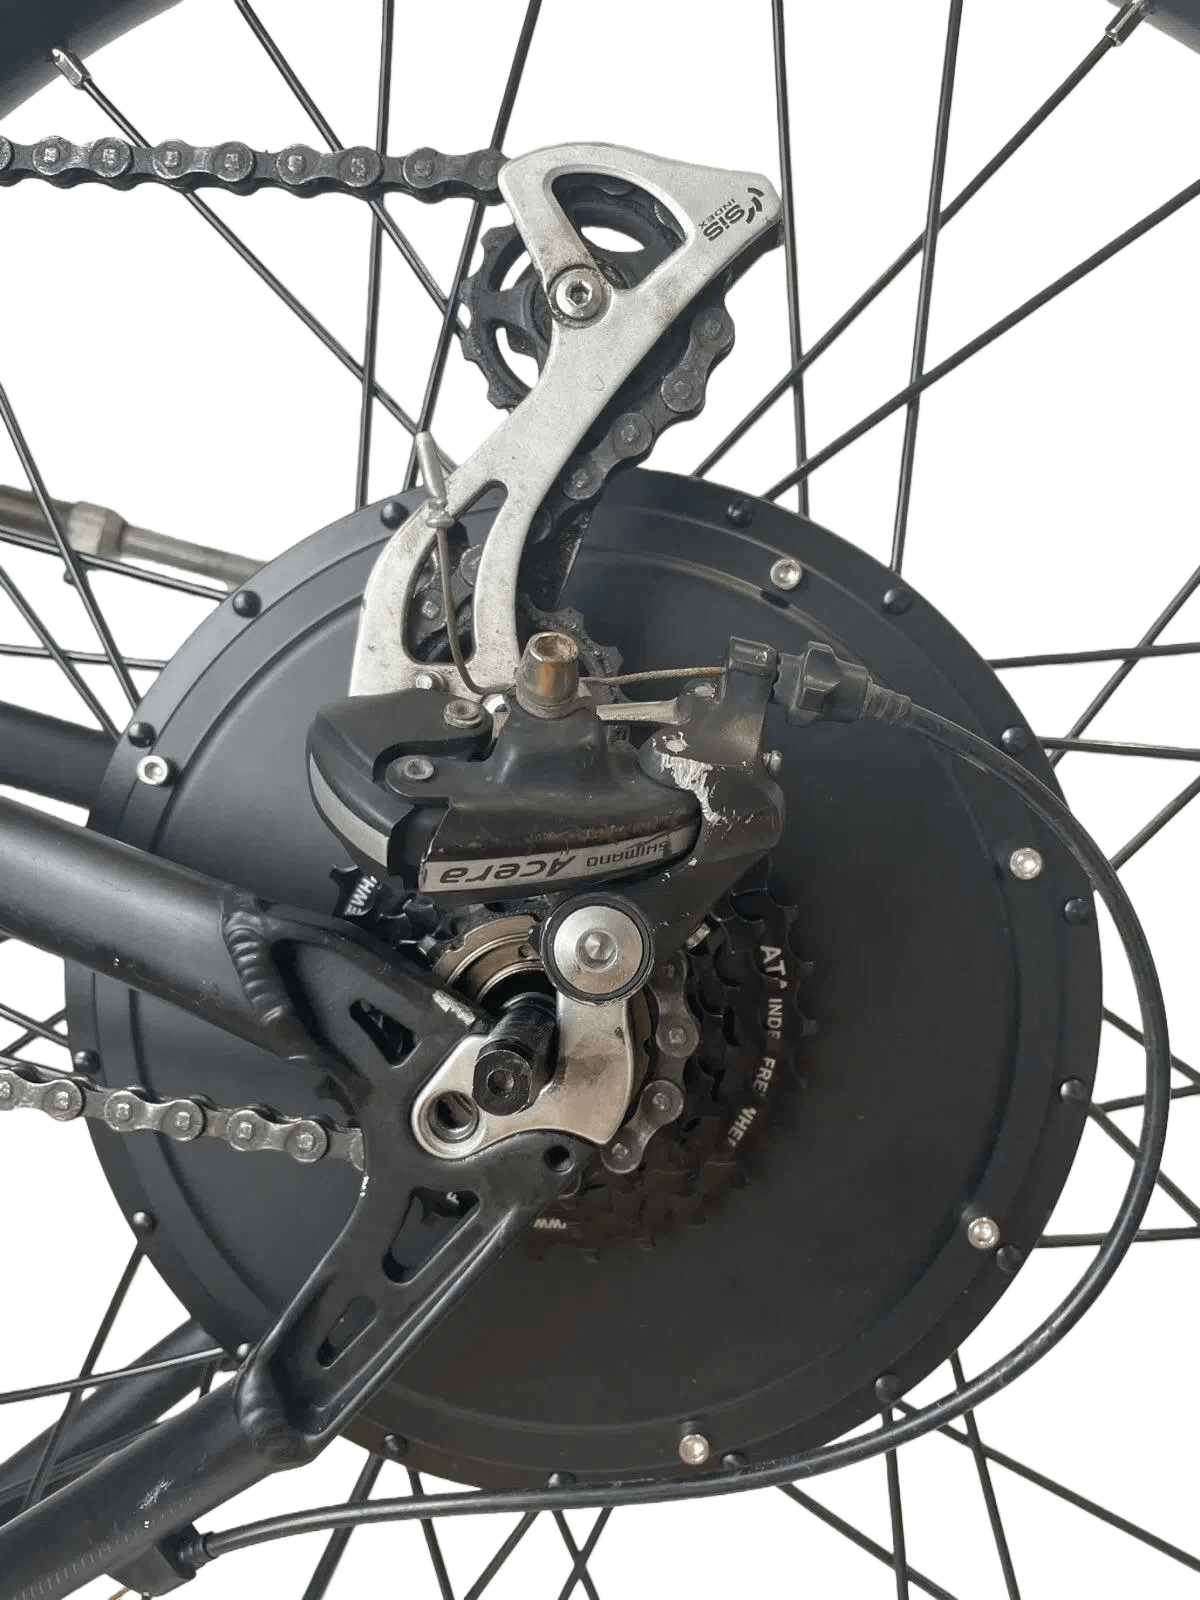
Mount the cog washer
Install a cog-shaped washer, included with the torque arm, on the outside of the dropout.
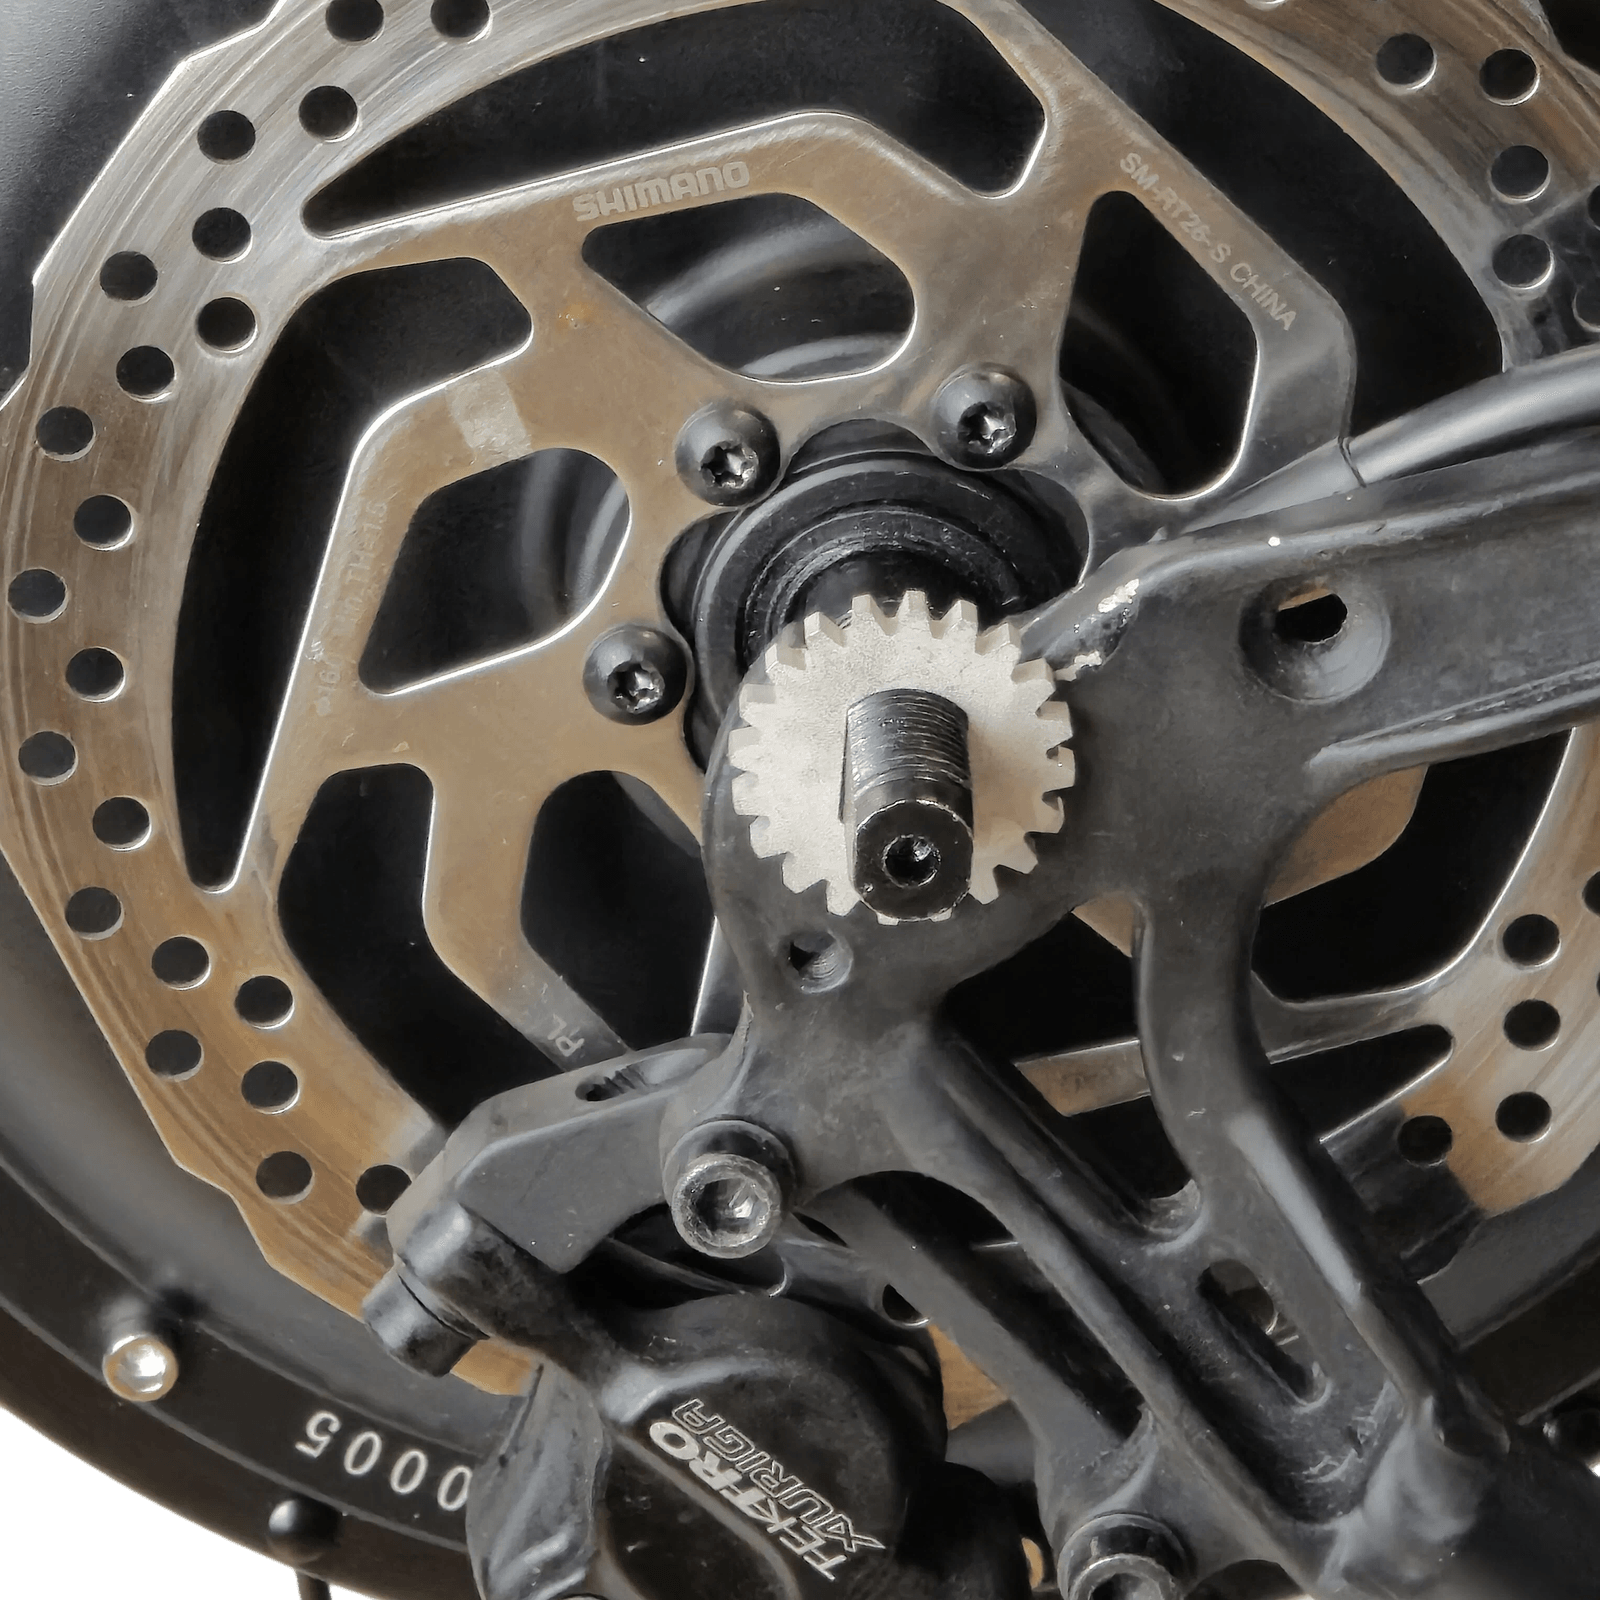
Mount the torque arm
Install the arm part of the torque arm on top of the cog washer.
Important, the angle: The torque arm should be mounted at an angle so that when you tighten the hose clamp against the frame, it creates a torque that resists the torque generated by the motor. In other words, the torque arm should want to rotate the axle in the wheel's rotation direction, forward.
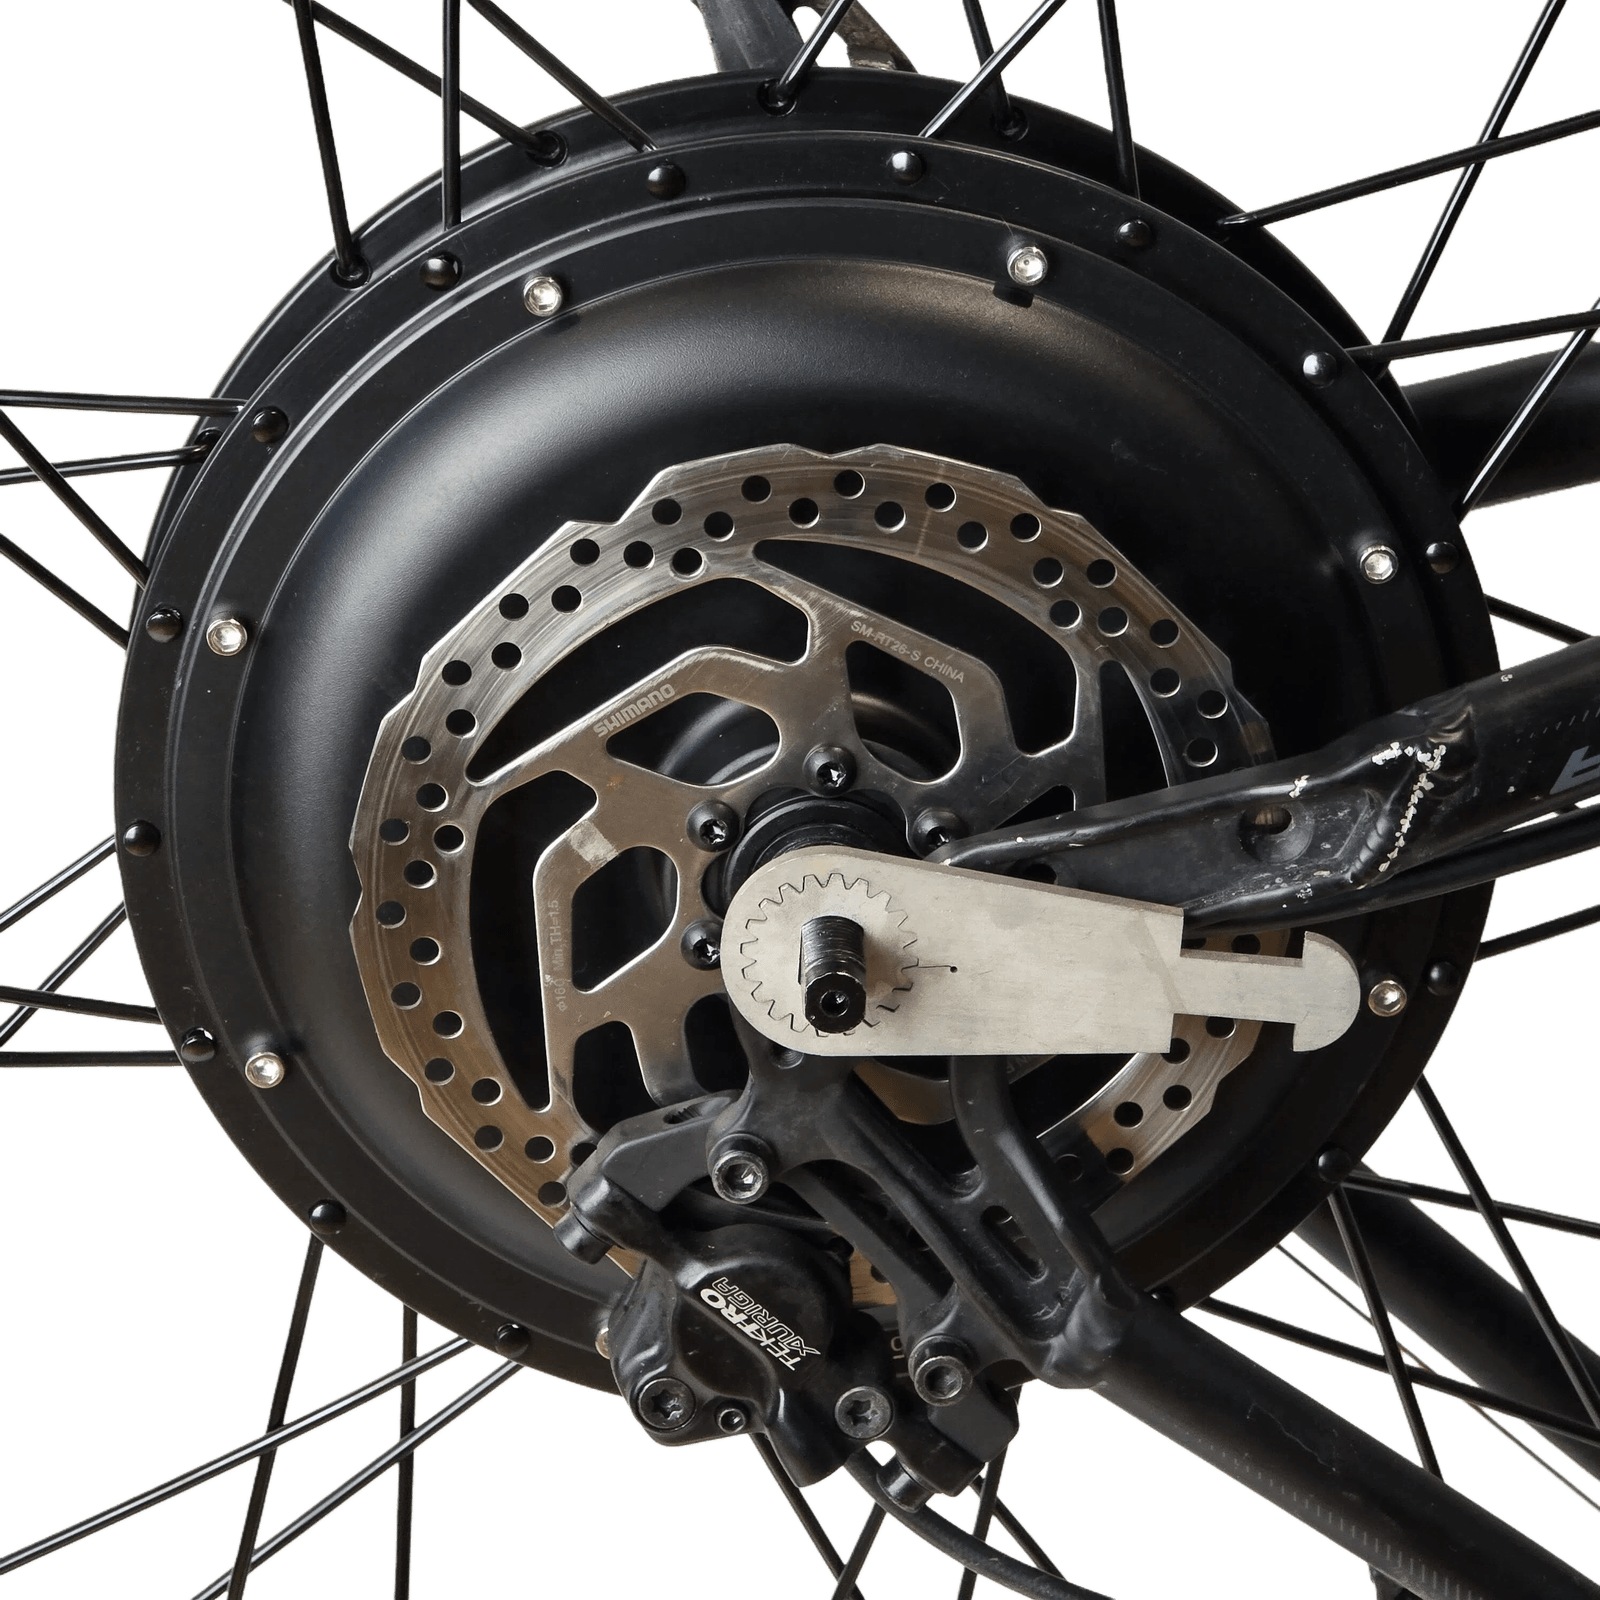
If the arm sits crooked, you may need to add a bronze-colored washer under the cog washer so it sits flat.
Thread on the axle nut
Thread the axle nut on finger tight, not with tools yet.
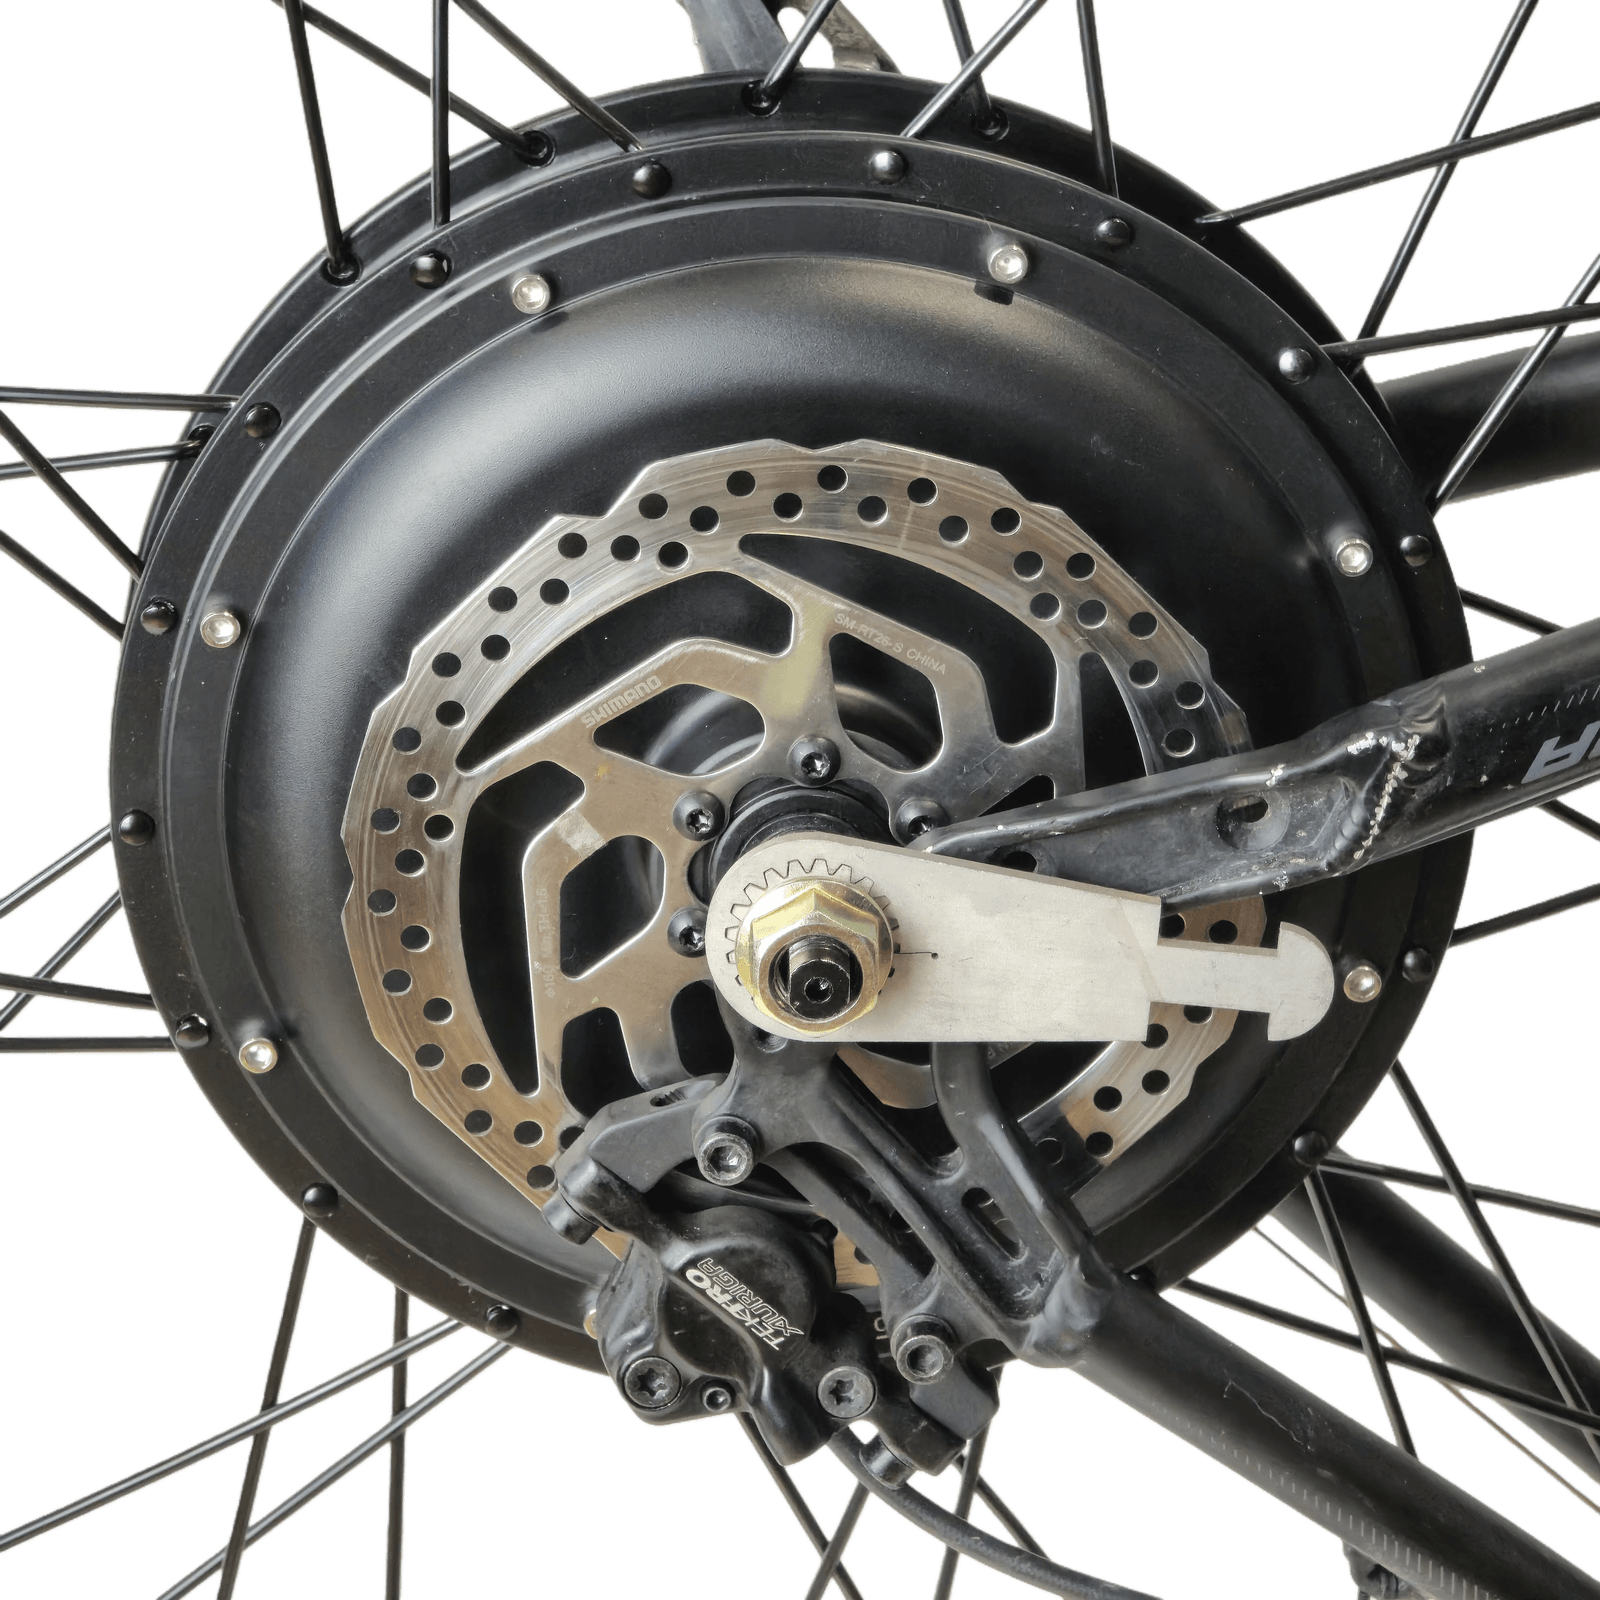
Repeat for the other side
Repeat the same steps for the other side of the axle:
- Cog washer
- Torque arm at the correct angle
- Axle nut finger tight
Secure the torque arms with hose clamps
Fit hose clamps on both torque arms and tighten them against the frame tube until they are stable, but not so tight that they start turning the axle.
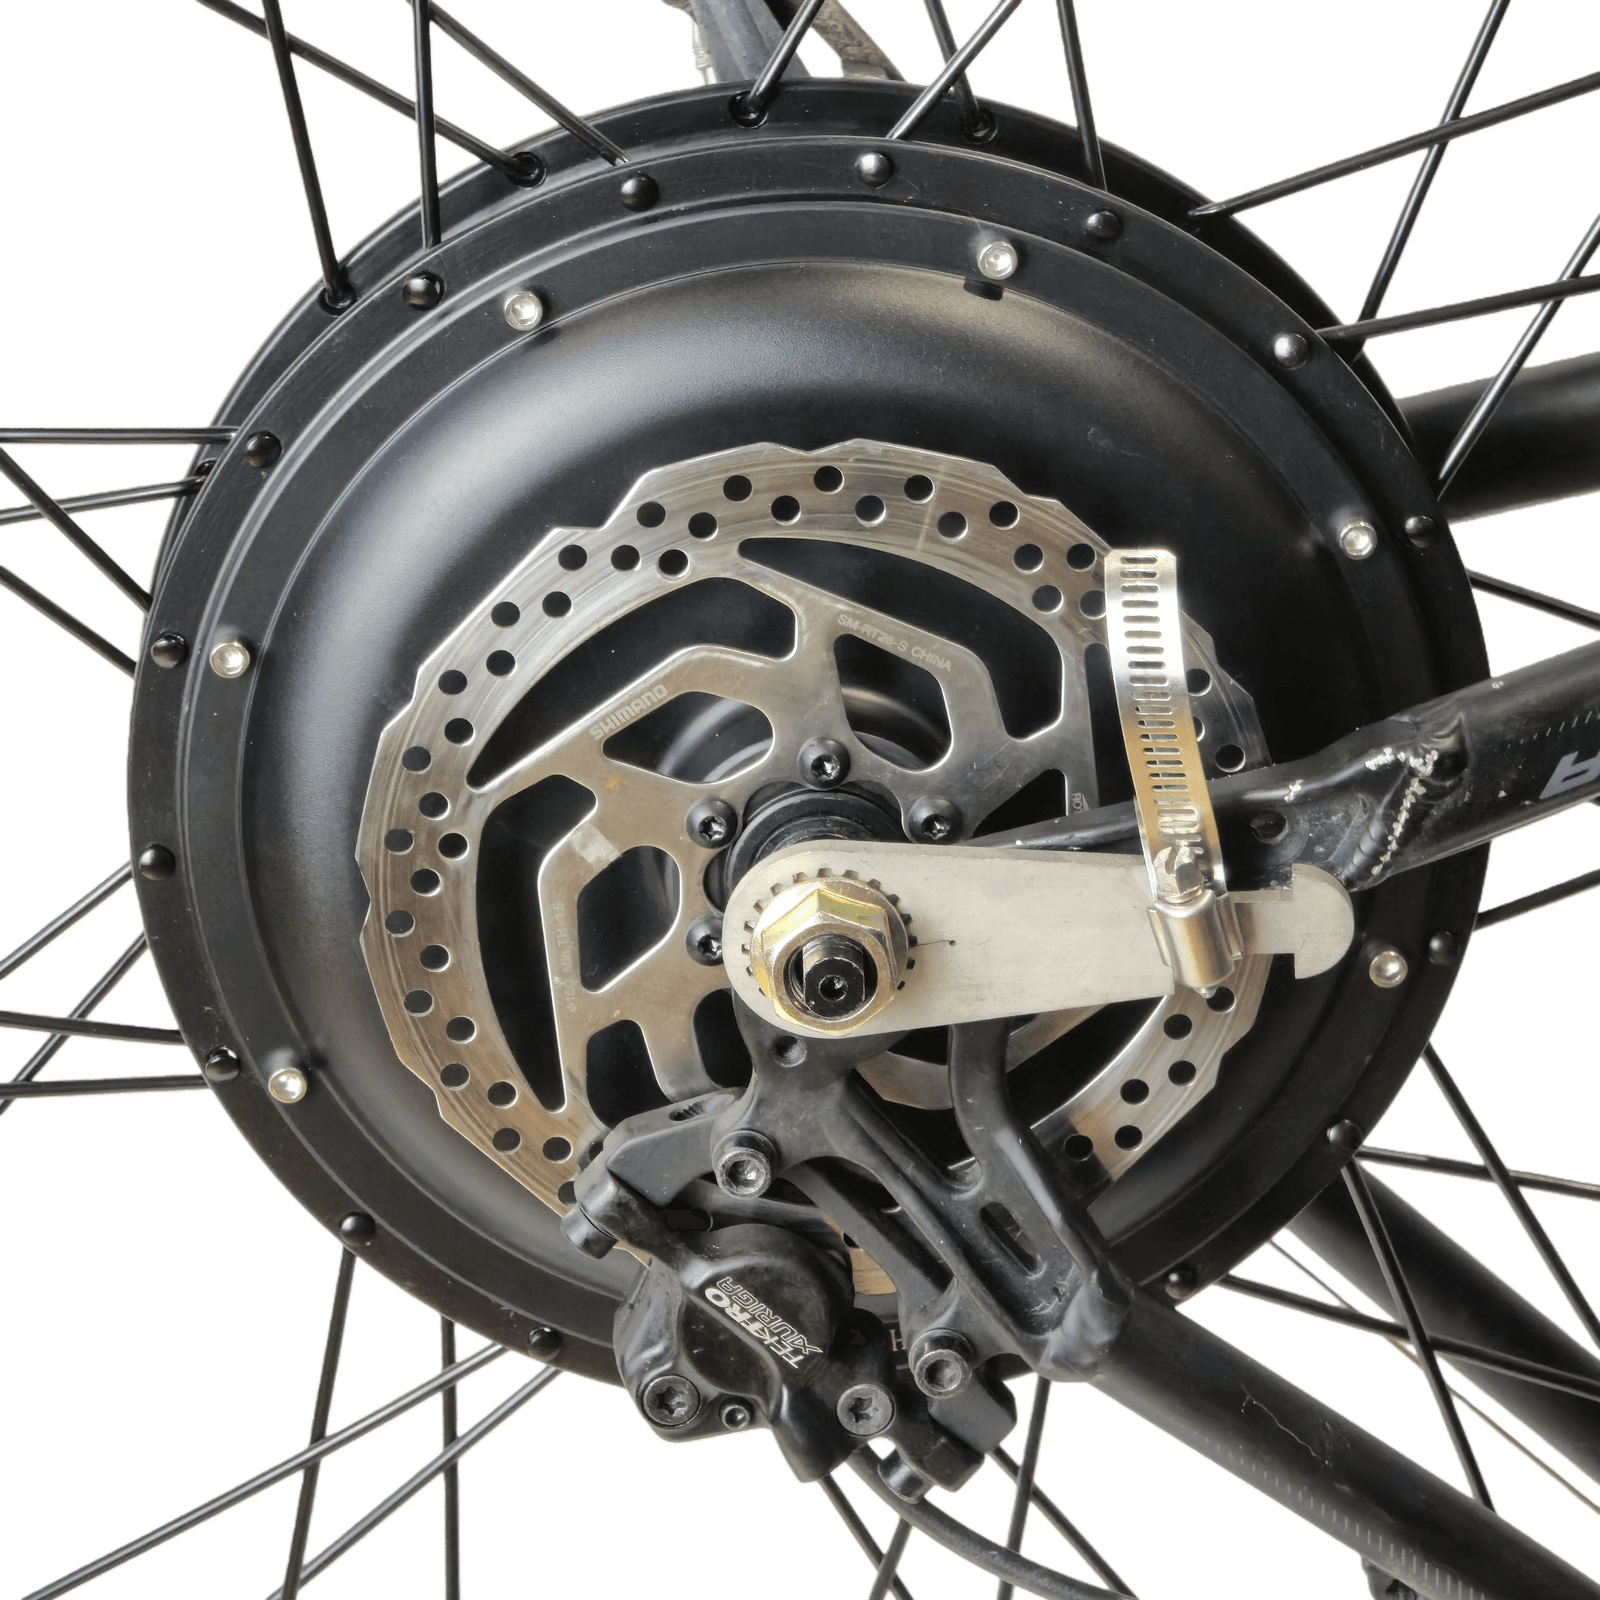
Without properly mounted torque arms, the motor torque can twist the axle out of the dropouts, which can cause the wheel to come loose while riding.
Always check that the torque arms are secure before riding!
Tighten the axle bolts
Now tighten the axle bolts properly with 21 mm wrenches.
Tip: If you have two wrenches, tighten both sides at the same time for more even tightening and less stress on the axle.
Check that the wheel spins freely
Spin the wheel and check:
- The wheel spins freely without anything rubbing
- The brake pads do not touch the brake disc
- The freewheel does not hit the dropout
If something rubs: Adjust with spacers as described above.
Tighten the brake caliper screws
Tighten the brake caliper screws you loosened earlier.
Reinstall the axle covers
Put the axle covers back on both sides of the axle.
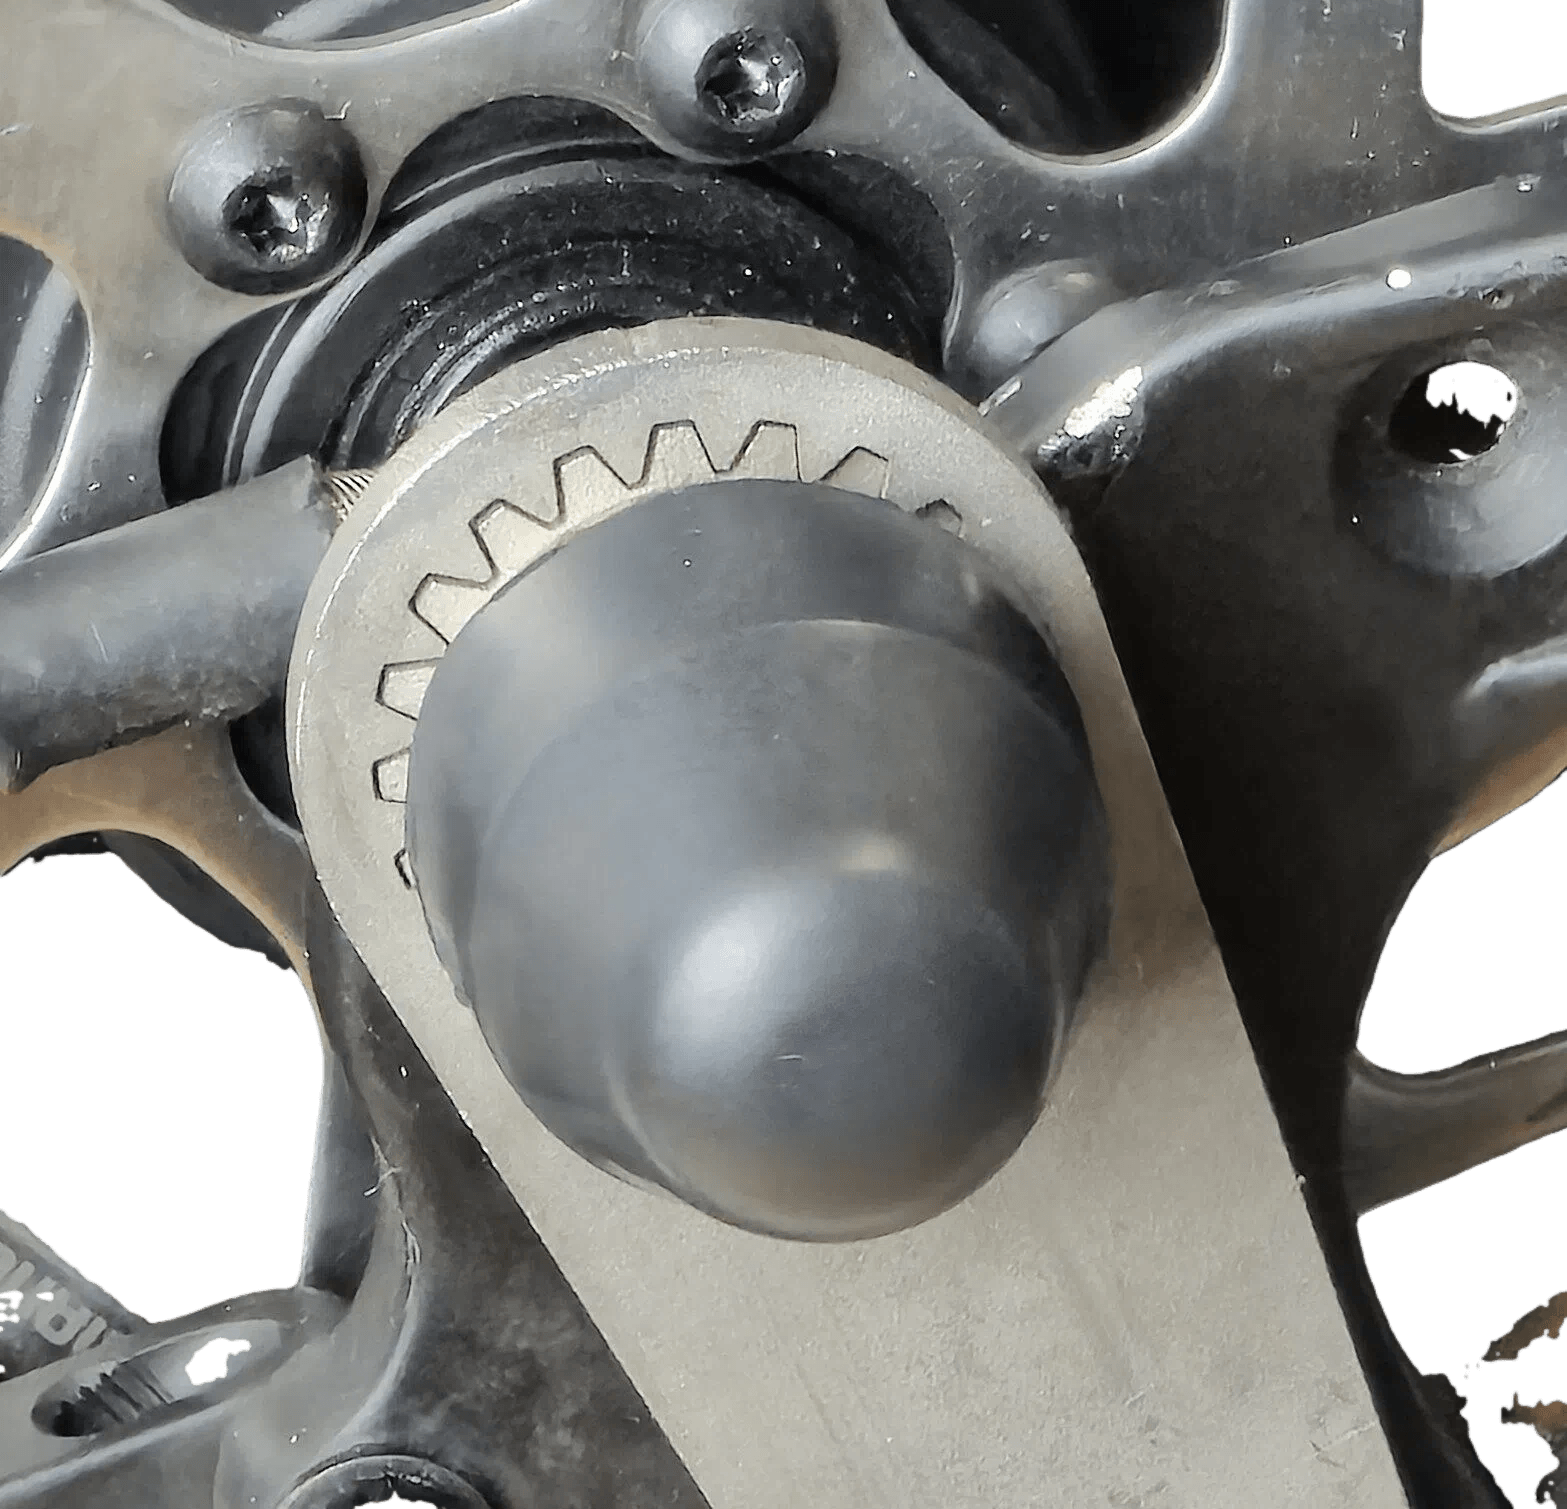
Turn the bike back over
Carefully turn the bike upright so it stands on its wheels again.
Done!
The motor wheel is now mounted with torque arms. The bike is starting to take shape!
Next step: Step 5: Install the throttle